Difference between revisions of "Fields of Normandy"
(→Map configuration: Removed "Domination" link) |
|||
| (2 intermediate revisions by 2 users not shown) | |||
| Line 1: | Line 1: | ||
{{DISPLAYTITLE:Fields of Normandy}} | {{DISPLAYTITLE:Fields of Normandy}} | ||
| − | + | <div class="ttx"> | |
| − | + | <div class="ttx-image">[[File:MapIcon Ground FieldsofNormandy.jpg]]</div> | |
| − | + | <div class="ttx-table"> | |
| − | + | <div class="ttx-table-line ttx-table-head">Possible Layouts</div> | |
| − | + | <div class="ttx-table-line"><span class="ttx-value">[[File:Icon GreenCheckmark.png|link=]]</span><span class="ttx-name">Domination</span></div> | |
| − | + | <div class="ttx-table-line"><span class="ttx-value">[[File:Icon GreenCheckmark.png|link=]]</span><span class="ttx-name">Conquest</span></div> | |
| − | + | <div class="ttx-table-line"><span class="ttx-value">[[File:Icon GreenCheckmark.png|link=]]</span><span class="ttx-name">Battle</span></div> | |
| − | + | <div class="ttx-table-line"><span class="ttx-value">[[File:Icon GreenCheckmark.png|link=]]</span><span class="ttx-name">Break</span></div> | |
| − | + | <div class="ttx-table-line"><span class="ttx-value">[[File:Icon RedXCross.png|link=]]</span><span class="ttx-name">Skirmish</span></div> | |
| − | + | <div class="ttx-table-line ttx-table-head">Other Information</div> | |
| − | + | <div class="ttx-table-line"><span class="ttx-value">4 km x 4 km</span><span class="ttx-name">Full tank area size</span></div> | |
| − | + | <div class="ttx-table-line"><span class="ttx-value">Vierville-sur-Mer, France [[File:CountryIcon FRA.png]]</span><span class="ttx-name">Real World Location</span></div> | |
| − | + | <div class="ttx-table-line ttx-table-head">Full Map</div> | |
| − | + | <div class="ttx-image">[[File:MapLayout_Ground_Normandy.jpg]]</div> | |
| − | + | </div> | |
| − | + | </div> | |
__TOC__ | __TOC__ | ||
==Overview== | ==Overview== | ||
| − | + | <!--''Write an introduction to the article in 2-3 small paragraphs. Briefly tell about the location and also about its features.''--> | |
'''Fields of Normandy''' is a ground forces map available in all modes. It is the [[Normandy (Ground Forces)|Normandy]], but the battle area has been moved to the fields south of the main town (the battle area on the Normandy map is usually restricted to just the main town). It was added in [[Update_1.59 "Flaming_Arrows"|Update 1.59 "Flaming Arrows"]] or in a smaller patch afterwards. The map has lots of hedge rows tanks can hide in and wait to pick off enemies, there are lots of open fields, that although sometimes offering the shortest route to capture zones and other strategic points leave the player exposed. There are two small settlements in the north and south of the map, and a large airship hangar in the middle. | '''Fields of Normandy''' is a ground forces map available in all modes. It is the [[Normandy (Ground Forces)|Normandy]], but the battle area has been moved to the fields south of the main town (the battle area on the Normandy map is usually restricted to just the main town). It was added in [[Update_1.59 "Flaming_Arrows"|Update 1.59 "Flaming Arrows"]] or in a smaller patch afterwards. The map has lots of hedge rows tanks can hide in and wait to pick off enemies, there are lots of open fields, that although sometimes offering the shortest route to capture zones and other strategic points leave the player exposed. There are two small settlements in the north and south of the map, and a large airship hangar in the middle. | ||
| − | The tank battles | + | The full Eastern Europe tank battles map (seen to the right) is 4km x 4km however, it is restricted to a much smaller area. The air battle area is 65km x 65km in all modes. The tank battle areas are: |
| − | = | + | {| class="wikitable" |
| + | |+ Battle area Size | ||
| + | ! Game Mode | ||
| + | ! AB | ||
| + | ! RB | ||
| + | ! SB | ||
| + | |- | ||
| + | | Domination | ||
| + | | 1.8 km x 1.8 km | ||
| + | | 1.8 km x 1.8 km | ||
| + | | 1.8 km x 1.8 km | ||
| + | |- | ||
| + | | Conquest #1 | ||
| + | | 1.8 km x 1.8 km | ||
| + | | 1.8 km x 1.8 km | ||
| + | | 1.8 km x 1.8 km | ||
| + | |- | ||
| + | | Conquest #2 | ||
| + | | 1.8 km x 1.8 km | ||
| + | | 1.8 km x 1.8 km | ||
| + | | 1.8 km x 1.8 km | ||
| + | |- | ||
| + | | Conquest #3 | ||
| + | | 1.8 km x 1.8 km | ||
| + | | 1.8 km x 1.8 km | ||
| + | | 1.8 km x 1.8 km | ||
| + | |- | ||
| + | | Battle | ||
| + | | 1.8 km x 1.8 km | ||
| + | | 1.8 km x 1.8 km | ||
| + | | 1.8 km x 1.8 km | ||
| + | |} | ||
===Historical Background=== | ===Historical Background=== | ||
| + | <!--''Describe historical context of the location.''--> | ||
See the main [[Normandy (Ground Forces)|Normandy]] page for Historical information. | See the main [[Normandy (Ground Forces)|Normandy]] page for Historical information. | ||
| − | === | + | ==Map configuration== |
| − | + | <!--Under this heading is the box to change game mode--> | |
| + | {| style="width:314; margin-left: auto; margin-right: auto; border: none;" class="wikitable" | ||
| + | ! colspan="3" | Change Maps by Game Modes | ||
| + | |- | ||
| + | ! <div class="ttx-switch-mode"><div class="ttx-switch-mode-button" id="ttx-ab-button">AB</div><div class="ttx-switch-mode-button" id="ttx-rb-button">RB</div><div class="ttx-switch-mode-button" id="ttx-sb-button" >SB</div></div> | ||
| + | |} | ||
| + | |||
| + | At present, this map has the same layouts in AB, RB and SB. | ||
| − | ==Map | + | ===Domination=== |
| − | + | <!--Put map screenshot, layout sizes and basic description (where each cap point is) in table using ttx-ab, ttx-rb &ttx-sb spans appropriately. If a more detailed description is desired then insert it as a paragraph of text above the table--> | |
| − | + | {| style="width: 300px;" class="wikitable" | |
| − | + | ! Domination Mode - Map Layouts | |
| + | |- align="center" | ||
| + | | | ||
| + | <div style="float: none;" class="ttx-ab">[[File:MapLayout Domination FieldsofNormandy ABRBSB.jpg|300px]]</div> | ||
| + | <div style="float: none;" class="ttx-rb">[[File:MapLayout Domination FieldsofNormandy ABRBSB.jpg|300px]]</div> | ||
| + | <div style="float: none;" class="ttx-sb">[[File:MapLayout Domination FieldsofNormandy ABRBSB.jpg|300px]]</div> | ||
| + | |- align="center" | ||
| + | | | ||
| + | <span class="ttx-ab">1.8 km x 1.8 km</span> | ||
| + | <span class="ttx-rb">1.8 km x 1.8 km</span> | ||
| + | <span class="ttx-sb">1.8 km x 1.8 km</span> | ||
| + | |- | ||
| + | | | ||
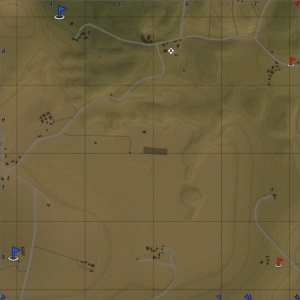
| + | <span class="ttx-ab">In AB point A will be at the airship hangar in the centre of the map, B is in the small settlement in the south of the map, and C is in small settlement in the north of the map.</span> | ||
| + | <span class="ttx-rb">In RB point A will be at the airship hangar in the centre of the map, B is in the small settlement in the south of the map, and C is in small settlement in the north of the map.</span> | ||
| + | <span class="ttx-sb">In SB point A will be at the airship hangar in the centre of the map, B is in the small settlement in the south of the map, and C is in small settlement in the north of the map.</span> | ||
| + | |} | ||
| − | + | ===Conquest=== | |
| − | + | <!--Put map screenshots, layout sizes and basic descriptions (where each cap point is) in table using ttx-ab, ttx-rb &ttx-sb spans appropriately. If a more detailed description is desired then insert it as a paragraph of text above the table--> | |
| − | [[File:MapLayout Conquest1 FieldsofNormandy.jpg| | + | {| style="width: 900px;" class="wikitable" |
| − | [[File:MapLayout Conquest2 FieldsofNormandy.jpg| | + | ! colspan="3" | Conquest Mode - Map Layouts |
| − | [[File:MapLayout Conquest3 FieldsofNormandy.jpg| | + | |- |
| + | ! Conquest #1 | ||
| + | ! Conquest #2 | ||
| + | ! Conquest #3 | ||
| + | |- align="center" | ||
| + | | | ||
| + | <div style="float: none;" class="ttx-ab">[[File:MapLayout Conquest1 FieldsofNormandy ABRBSB.jpg|300px]]</div> | ||
| + | <div style="float: none;" class="ttx-rb">[[File:MapLayout Conquest1 FieldsofNormandy ABRBSB.jpg|300px]]</div> | ||
| + | <div style="float: none;" class="ttx-sb">[[File:MapLayout Conquest1 FieldsofNormandy ABRBSB.jpg|300px]]</div> | ||
| + | | | ||
| + | <div style="float: none;" class="ttx-ab">[[File:MapLayout Conquest2 FieldsofNormandy ABRBSB.jpg|300px]]</div> | ||
| + | <div style="float: none;" class="ttx-rb">[[File:MapLayout Conquest2 FieldsofNormandy ABRBSB.jpg|300px]]</div> | ||
| + | <div style="float: none;" class="ttx-sb">[[File:MapLayout Conquest2 FieldsofNormandy ABRBSB.jpg|300px]]</div> | ||
| + | | | ||
| + | <div style="float: none;" class="ttx-ab">[[File:MapLayout Conquest3 FieldsofNormandy ABRBSB.jpg|300px]]</div> | ||
| + | <div style="float: none;" class="ttx-rb">[[File:MapLayout Conquest3 FieldsofNormandy ABRBSB.jpg|300px]]</div> | ||
| + | <div style="float: none;" class="ttx-sb">[[File:MapLayout Conquest3 FieldsofNormandy ABRBSB.jpg|300px]]</div> | ||
| + | |- align="center" | ||
| + | | | ||
| + | <span class="ttx-ab">1.8 km x 1.8 km</span> | ||
| + | <span class="ttx-rb">1.8 km x 1.8 km</span> | ||
| + | <span class="ttx-sb">1.8 km x 1.8 km</span> | ||
| + | | | ||
| + | <span class="ttx-ab">1.8 km x 1.8 km</span> | ||
| + | <span class="ttx-rb">1.8 km x 1.8 km</span> | ||
| + | <span class="ttx-sb">1.8 km x 1.8 km</span> | ||
| + | | | ||
| + | <span class="ttx-ab">1.8 km x 1.8 km</span> | ||
| + | <span class="ttx-rb">1.8 km x 1.8 km</span> | ||
| + | <span class="ttx-sb">1.8 km x 1.8 km</span> | ||
| + | |- | ||
| + | | | ||
| + | <span class="ttx-ab">In AB the capture point is around the airship hangar.</span> | ||
| + | <span class="ttx-rb">In RB the capture point is around the airship hangar.</span> | ||
| + | <span class="ttx-sb">In SB the capture point is around the airship hangar.</span> | ||
| + | | | ||
| + | <span class="ttx-ab">In AB the capture point is in the small settlement in the south of the map.</span> | ||
| + | <span class="ttx-rb">In RB the capture point is in the small settlement in the south of the map.</span> | ||
| + | <span class="ttx-sb">In SB the capture point is in the small settlement in the south of the map.</span> | ||
| + | | | ||
| + | <span class="ttx-ab">In AB the capture point is in small settlement in the north of the map.</span> | ||
| + | <span class="ttx-rb">In RB the capture point is in small settlement in the north of the map.</span> | ||
| + | <span class="ttx-sb">In RB the capture point is in small settlement in the north of the map.</span> | ||
| + | |} | ||
| − | + | ===Battle=== | |
| − | + | <!--Put map screenshots, layout sizes and basic descriptions (where each cap point is) in table using ttx-ab, ttx-rb &ttx-sb spans appropriately. If a more detailed description is desired then insert it as a paragraph of text above the table--> | |
| − | [[File:MapLayout Battle FieldsofNormandy.jpg| | + | {| style="width: 300px;" class="wikitable" |
| + | ! Battle Mode - Map Layouts | ||
| + | |- align="center" | ||
| + | | | ||
| + | <div style="float: none;" class="ttx-ab">[[File:MapLayout Battle FieldsofNormandy ABRBSB.jpg|300px]]</div> | ||
| + | <div style="float: none;" class="ttx-rb">[[File:MapLayout Battle FieldsofNormandy ABRBSB.jpg|300px]]</div> | ||
| + | <div style="float: none;" class="ttx-sb">[[File:MapLayout Battle FieldsofNormandy ABRBSB.jpg|300px]]</div> | ||
| + | |- align="center" | ||
| + | | | ||
| + | <span class="ttx-ab">1.8 km x 1.8 km</span> | ||
| + | <span class="ttx-rb">1.8 km x 1.8 km</span> | ||
| + | <span class="ttx-sb">1.8 km x 1.8 km</span> | ||
| + | |- | ||
| + | | | ||
| + | <span class="ttx-ab">In AB the capture points are located in small settlements in the east and west of the map.</span> | ||
| + | <span class="ttx-rb">In RB the capture points are located in small settlements in the east and west of the map.</span> | ||
| + | <span class="ttx-sb">In SB the capture points are located in small settlements in the east and west of the map.</span> | ||
| + | |} | ||
==Strategy== | ==Strategy== | ||
| + | ''Describe what focus a team should have when spawning into the map'' | ||
== Media == | == Media == | ||
| − | '' | + | ''Excellent additions to the article would be video guides, screenshots from the game, and photos.'' |
| − | == | + | == See also == |
| − | < | + | <!-- ''Links to the articles on the War Thunder Wiki that you think will be useful for the reader, for example:'' |
| + | * ''reference to related locations'' --> | ||
| + | * [[Normandy (Ground Forces)]] | ||
| − | == | + | == External links == |
| − | '' | + | <!-- ''Paste links to sources and external resources, such as:'' |
| − | * '' | + | * ''topic on the official game forum;'' |
| − | * '' | + | * ''other literature.'' --> |
| − | |||
| − | + | * [[wt:en/devblog/current/765|[Devblog] Location: Normandy]] | |
| − | |||
| − | |||
| − | |||
[[Category:Maps_and_missions]] | [[Category:Maps_and_missions]] | ||
[[Category:Ground forces maps]] | [[Category:Ground forces maps]] | ||
Latest revision as of 18:41, 26 January 2021
Contents
Overview
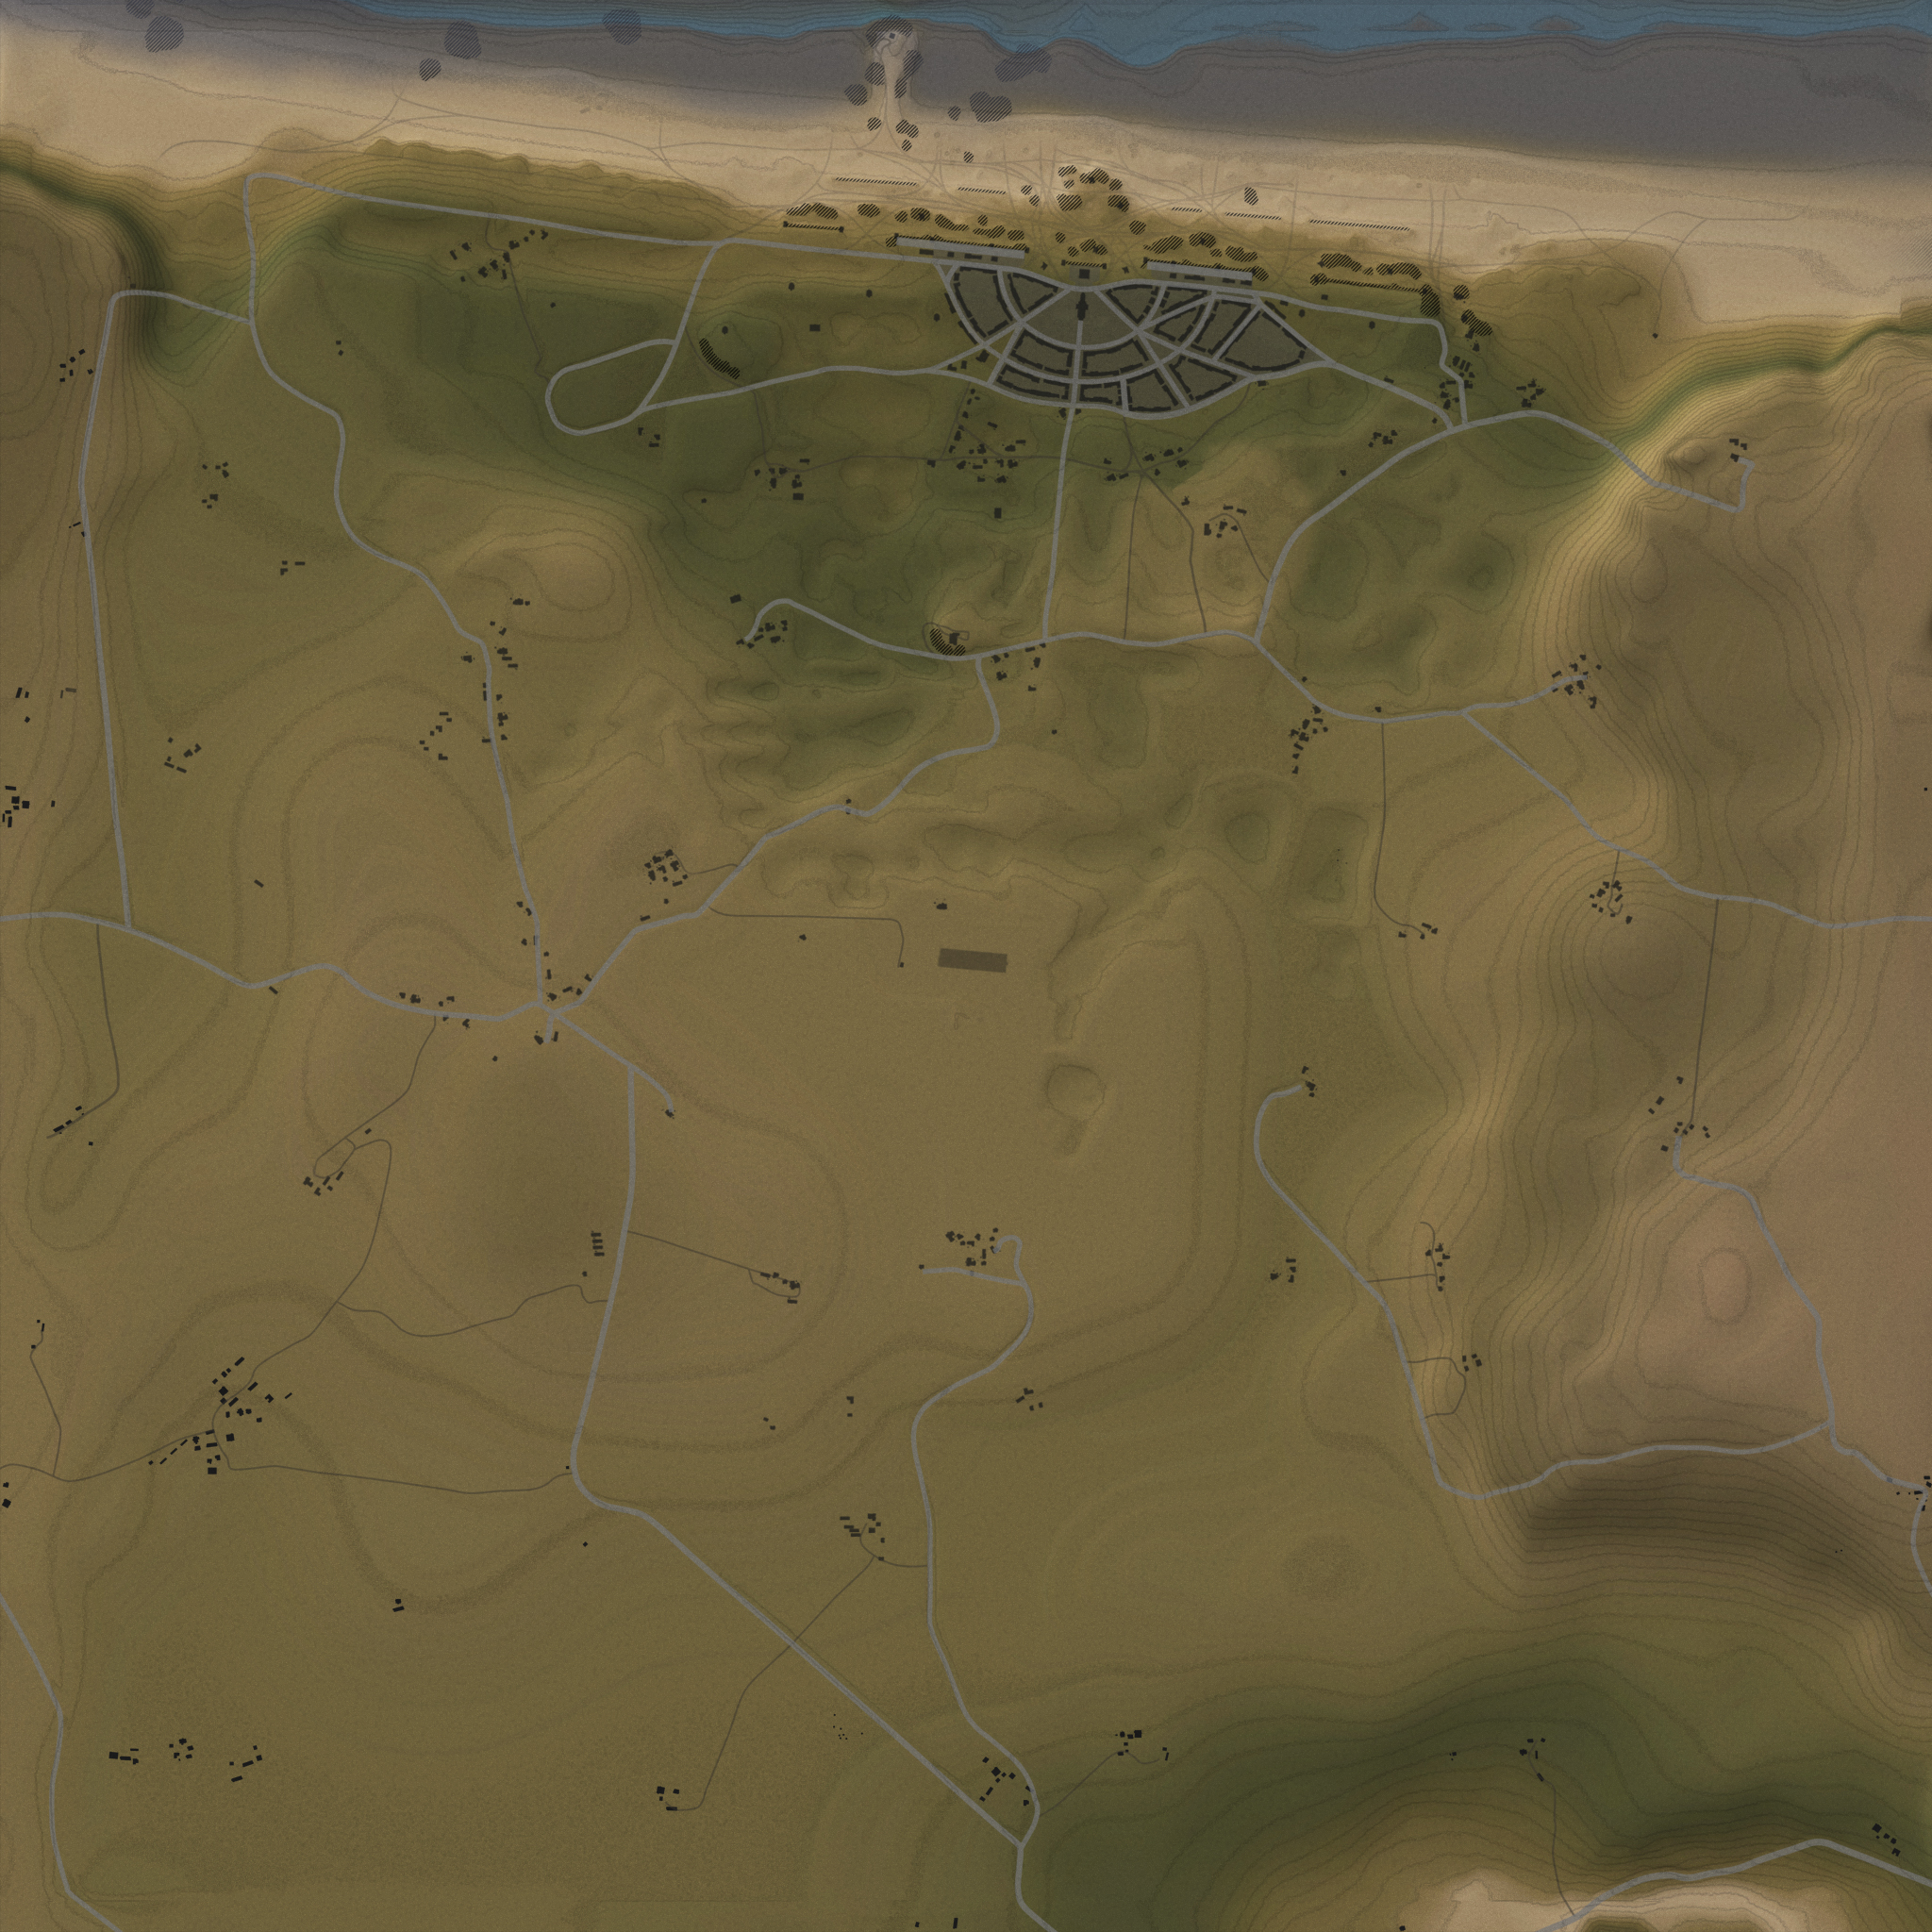
Fields of Normandy is a ground forces map available in all modes. It is the Normandy, but the battle area has been moved to the fields south of the main town (the battle area on the Normandy map is usually restricted to just the main town). It was added in Update 1.59 "Flaming Arrows" or in a smaller patch afterwards. The map has lots of hedge rows tanks can hide in and wait to pick off enemies, there are lots of open fields, that although sometimes offering the shortest route to capture zones and other strategic points leave the player exposed. There are two small settlements in the north and south of the map, and a large airship hangar in the middle.
The full Eastern Europe tank battles map (seen to the right) is 4km x 4km however, it is restricted to a much smaller area. The air battle area is 65km x 65km in all modes. The tank battle areas are:
| Game Mode | AB | RB | SB |
|---|---|---|---|
| Domination | 1.8 km x 1.8 km | 1.8 km x 1.8 km | 1.8 km x 1.8 km |
| Conquest #1 | 1.8 km x 1.8 km | 1.8 km x 1.8 km | 1.8 km x 1.8 km |
| Conquest #2 | 1.8 km x 1.8 km | 1.8 km x 1.8 km | 1.8 km x 1.8 km |
| Conquest #3 | 1.8 km x 1.8 km | 1.8 km x 1.8 km | 1.8 km x 1.8 km |
| Battle | 1.8 km x 1.8 km | 1.8 km x 1.8 km | 1.8 km x 1.8 km |
Historical Background
See the main Normandy page for Historical information.
Map configuration
| Change Maps by Game Modes | ||
|---|---|---|
| | ||
At present, this map has the same layouts in AB, RB and SB.
Domination
| Domination Mode - Map Layouts |
|---|
|
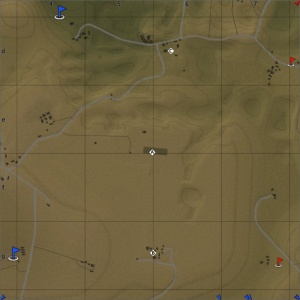
1.8 km x 1.8 km 1.8 km x 1.8 km 1.8 km x 1.8 km |
|
In AB point A will be at the airship hangar in the centre of the map, B is in the small settlement in the south of the map, and C is in small settlement in the north of the map. In RB point A will be at the airship hangar in the centre of the map, B is in the small settlement in the south of the map, and C is in small settlement in the north of the map. In SB point A will be at the airship hangar in the centre of the map, B is in the small settlement in the south of the map, and C is in small settlement in the north of the map. |
Conquest
| Conquest Mode - Map Layouts | ||
|---|---|---|
| Conquest #1 | Conquest #2 | Conquest #3 |
|
1.8 km x 1.8 km 1.8 km x 1.8 km 1.8 km x 1.8 km |
1.8 km x 1.8 km 1.8 km x 1.8 km 1.8 km x 1.8 km |
1.8 km x 1.8 km 1.8 km x 1.8 km 1.8 km x 1.8 km |
|
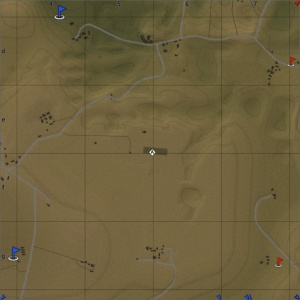
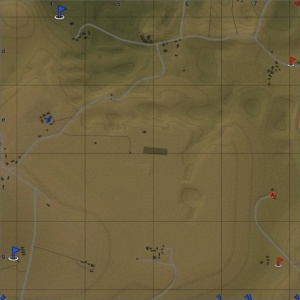
In AB the capture point is around the airship hangar. In RB the capture point is around the airship hangar. In SB the capture point is around the airship hangar. |
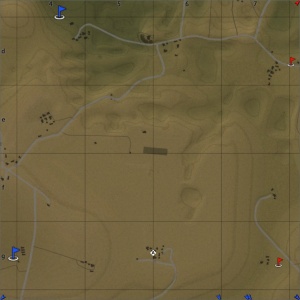
In AB the capture point is in the small settlement in the south of the map. In RB the capture point is in the small settlement in the south of the map. In SB the capture point is in the small settlement in the south of the map. |
In AB the capture point is in small settlement in the north of the map. In RB the capture point is in small settlement in the north of the map. In RB the capture point is in small settlement in the north of the map. |
Battle
| Battle Mode - Map Layouts |
|---|
|
1.8 km x 1.8 km 1.8 km x 1.8 km 1.8 km x 1.8 km |
|
In AB the capture points are located in small settlements in the east and west of the map. In RB the capture points are located in small settlements in the east and west of the map. In SB the capture points are located in small settlements in the east and west of the map. |
Strategy
Describe what focus a team should have when spawning into the map
Media
Excellent additions to the article would be video guides, screenshots from the game, and photos.


