Sands of Tunisia
| Game Modes | ||||
|---|---|---|---|---|
Contents
Overview
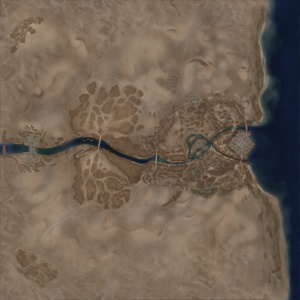
Sands of Tunisia is a ground forces map, using the same map as the Tunisia map. It was added in Update 1.59 "Flaming Arrows". The difference between this map and the Tunisia map is that the battle area has been moved to use parts of the map which are not accessible in the usual configuration of the Tunisia map.
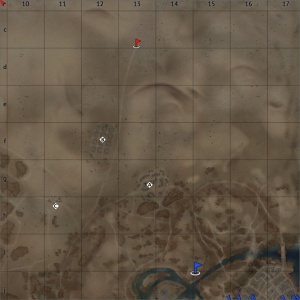
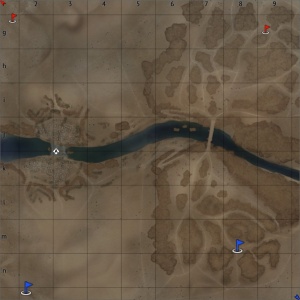
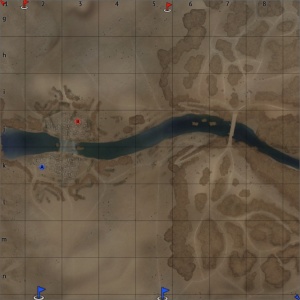
Depending on the configuration the battle area will either take place around the military camp and oil facility in the north of the normal battle area on the Tunisia map; or in the town and valley in the west of the full map (seen to the right). The battle area in the north consists of more open desert, allowing tanks to engage each other at longer ranges, using the large sand dunes (as well as rocks in the south) as cover; while also allowing for short range fighting around the oil facility. The battle area in the west favours shorter range combat, with tanks fighting in the town and around the canyon, and surrounding passages. Long range engagement can still take place with players shooting down into the town from the canyon, or across the town from behind the sand dunes.
The full Tunisia tank battles map (seen to the right) is 4km x 4km however; however Sands of Tunisia uses only (comparably) small sections of the map. Dependent on the map configuration the tank battle area changes location and size. The air battle area is 65km x 65km in all modes. The tank battle areas are:
Domination: 1.7km x 1.7km (in all modes)
Battle: 1.7km x 1.7km (in all modes)
Conquest #1: 1.8km x 1.8km (in all modes)
Conquest #2: 1.8km x 1.8km (in all modes)
Conquest #3: 1.7km x 1.7km (in all modes)
Game Description
The map does not occur in standard play. Can only be used in Custom Battles (or User Missions)
Historical Background
See the Tunisia map article for historical information.
Notable Landmarks
Map configuration
Domination
There are three Capture Points. The battle area takes place in the north of the map. Point A is in the large military camp near the middle of the battle area, B is in the oil storage facility, and C is in a small military camp in the west of the battle area.
Conquest
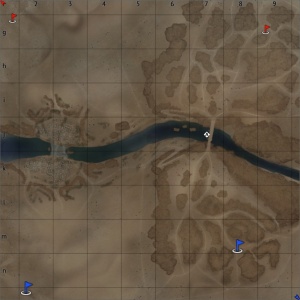
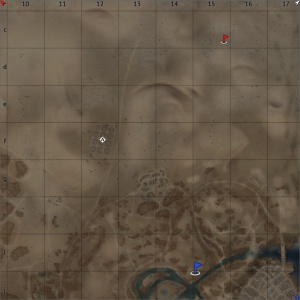
There are three configurations of the conquest mode, each with one capture point. The Conquest #1 battle area is in the west of the map, with the capture point in the middle of the western town. In Conquest #2 the battle area is in the west of the map, with the capture point in the middle of the canyon (can be captured from in the river or on the bridge). Finally in the Conquest #3 configuration, the battle area is in the north of the map, with the capture area in the oil storage facility.
Battle
There are two capture points, each owned by one of the teams. The battle area is in the west of the map. One point is in the southwest of the town, and the other is in the northeast of the town.
Strategy
Describe what focus a team should have when spawning into the map
Media
Excellent additions to the article would be video guides, screenshots from the game, and photos.


