Mozdok (Ground Forces)
| Game Modes | ||||
|---|---|---|---|---|
Contents
Overview
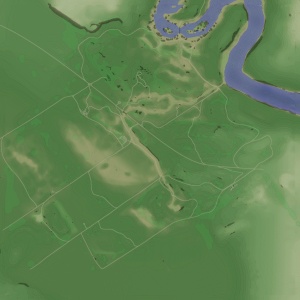
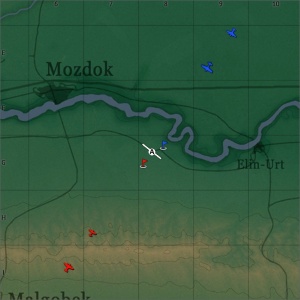
Mozdok is a ground forces map available in all modes. The map was added to the game in Update 1.43 (although has had significant changes since then), the patch after ground forces were released to Open Beta test (OBT) in Update 1.41. The Map is set in the open fields to the south of Mozdok, a town in southwest Russia. The map is generally very open, although hills, ditches, and tree lines break up the map, providing cover for players. There are also some small building clusters and light fortifications located around the map.
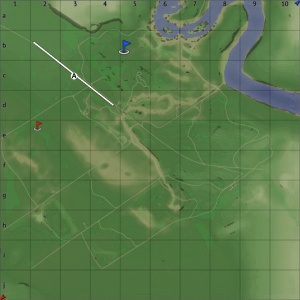
The full tanks map (seen to the right) is 4km x 4km, however the map is usually split into areas much smaller than that. Dependent on the map configuration and the game mode (AB, RB or SB) the tank battle area changes location and size. The air battle area is 65km x 65km in all modes. The tank battle areas are:
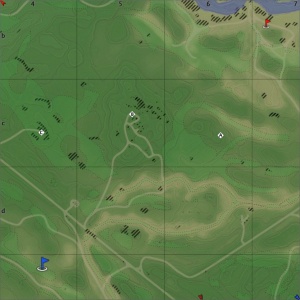
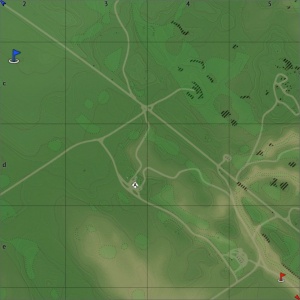
Domination: 1.4km x 1.4km (in AB & RB) or 3.8km x 3.8km (in SB)
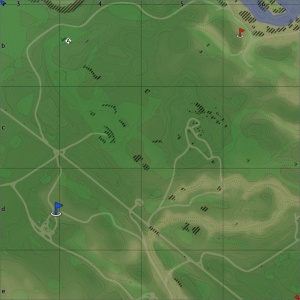
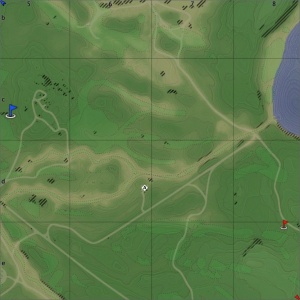
Battle: 2.0km x 2.0km (in all modes)
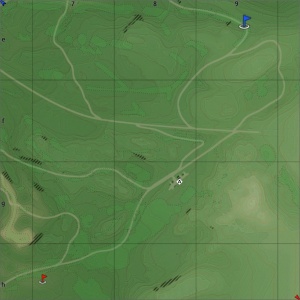
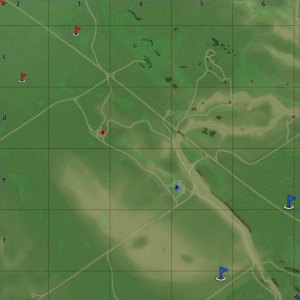
Conquest #1: 1.5km x 1.5km (in AB & RB) or 2km x 2km (in SB)
Conquest #2: 1.5km x 1.5km (in AB & RB) or 2km x 2km (in SB)
Conquest #3: 1.5km x 1.5km (in AB & RB) or 2km x 2km (in SB)
Conquest #4: 1.5km x 1.5km (in AB & RB) or 2km x 2km (in SB)
Game Description
Historical Background
The map is set in the open fields on the south bank of the Terek River (with part of the river passing into the tank battles map in the northeast). The layout of the tank battles map is largely fictional, although some features such as the main road, which runs across the map, are historical. The map appears to have been inspired by the area around the point 43°40'37.3"N 44°49'49.1"E in real life (16km / 10 miles southeast of Mozdok). The air battles map is reasonably accurate.
German troops captured Mozdok on the 25 August 1942, as part of the Battle of the Caucasus; establishing a bridgehead over the Terek River on 1 September 1942. In response the Soviet forces started the Mozdok-Malgobek Defensive Operation and later the Salsk-Rostov and Mozdok-Stavropol Offensive Operations. On the 1st January 1943 the German 1st Panzer Division withdrew from Terek area in southern Russia to avoid being encircled by the Soviet Salsk-Rostov and Mozdok-Stavropol Offensive Operations.
By the 12th January the German forces had withdrawn from the Caucasus region of Russia, forming a defensive line at the Kuban Bridgehead, on the Taman Peninsula. The fighting remained reasonably static until 7th September 1943 when the Germans began to withdraw from the Bridgehead effectively ending the period of fighting in the Caucasus.
Notable Landmarks
Map configuration
Domination
Conquest
There are four configurations of the conquest mode, each with one capture point. The Conquest #1 battle area is in the top right of the map, with a capture point in the very northwest of the playable area. In Conquest #2 the battle area is in the southeast of the map, with the capture point among some buildings in the southeast of the playable area. The battle area for Conquest #3 is in the west of the map, with the capture point among some buildings to the west of the main road. Finally in the Conquest #4 configuration, the battle area is in the east of the map (near the domination area); the capture point is among some chopped down trees on the east bank the stream, which flows into the main river.
Battle
In the Battle configuration there are two capture points each belonging to a team. The battle area is in the middle of the map, to the west of the main road. Point A is in a fuel depot and Point B is in the same place as the capture zone from Conquest #3.
The Road for the Brave
This is a special event for both aircraft and tanks in Arcade Battles. The battle area is centred in the northwest of the tank map. Aircraft must try and capture a long road that runs through the tank area, by flying along it with their wheels on the ground (the same way capturing airfields in air domination mode works). The makeshift runway is neutral, with aircraft from both teams trying to capture it. Both teams can also spawn in tanks in order to try and shoot down enemy planes landing on the road.
Strategy
Describe what focus a team should have when spawning into the map
Media
Excellent additions to the article would be video guides, screenshots from the game, and photos.
See also
Links to the articles on the War Thunder Wiki that you think will be useful for the reader, for example:
- reference to related locations
External links
Paste links to sources and external resources, such as:
- topic on the official game forum;
- other literature.


