File list
This special page shows all uploaded files.
| Date | Name | Thumbnail | Size | User | Description | Versions |
|---|---|---|---|---|---|---|
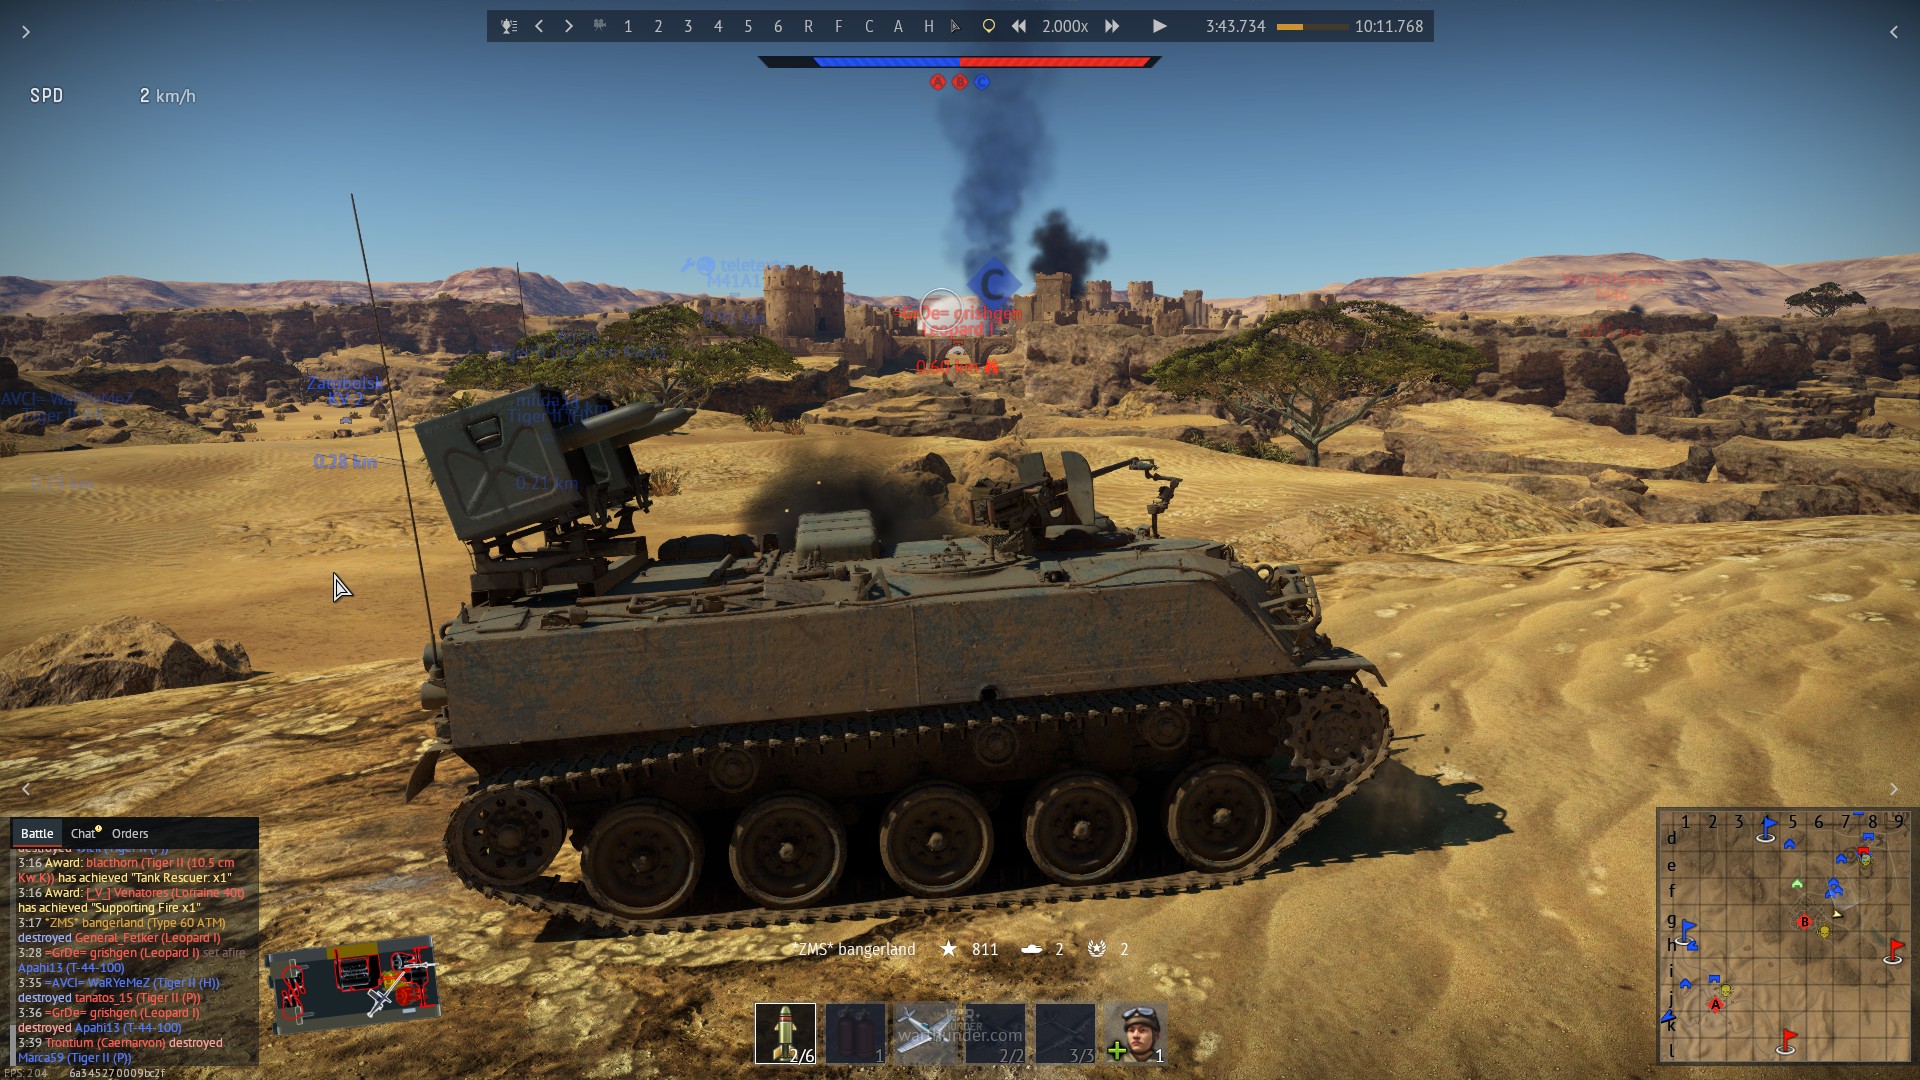
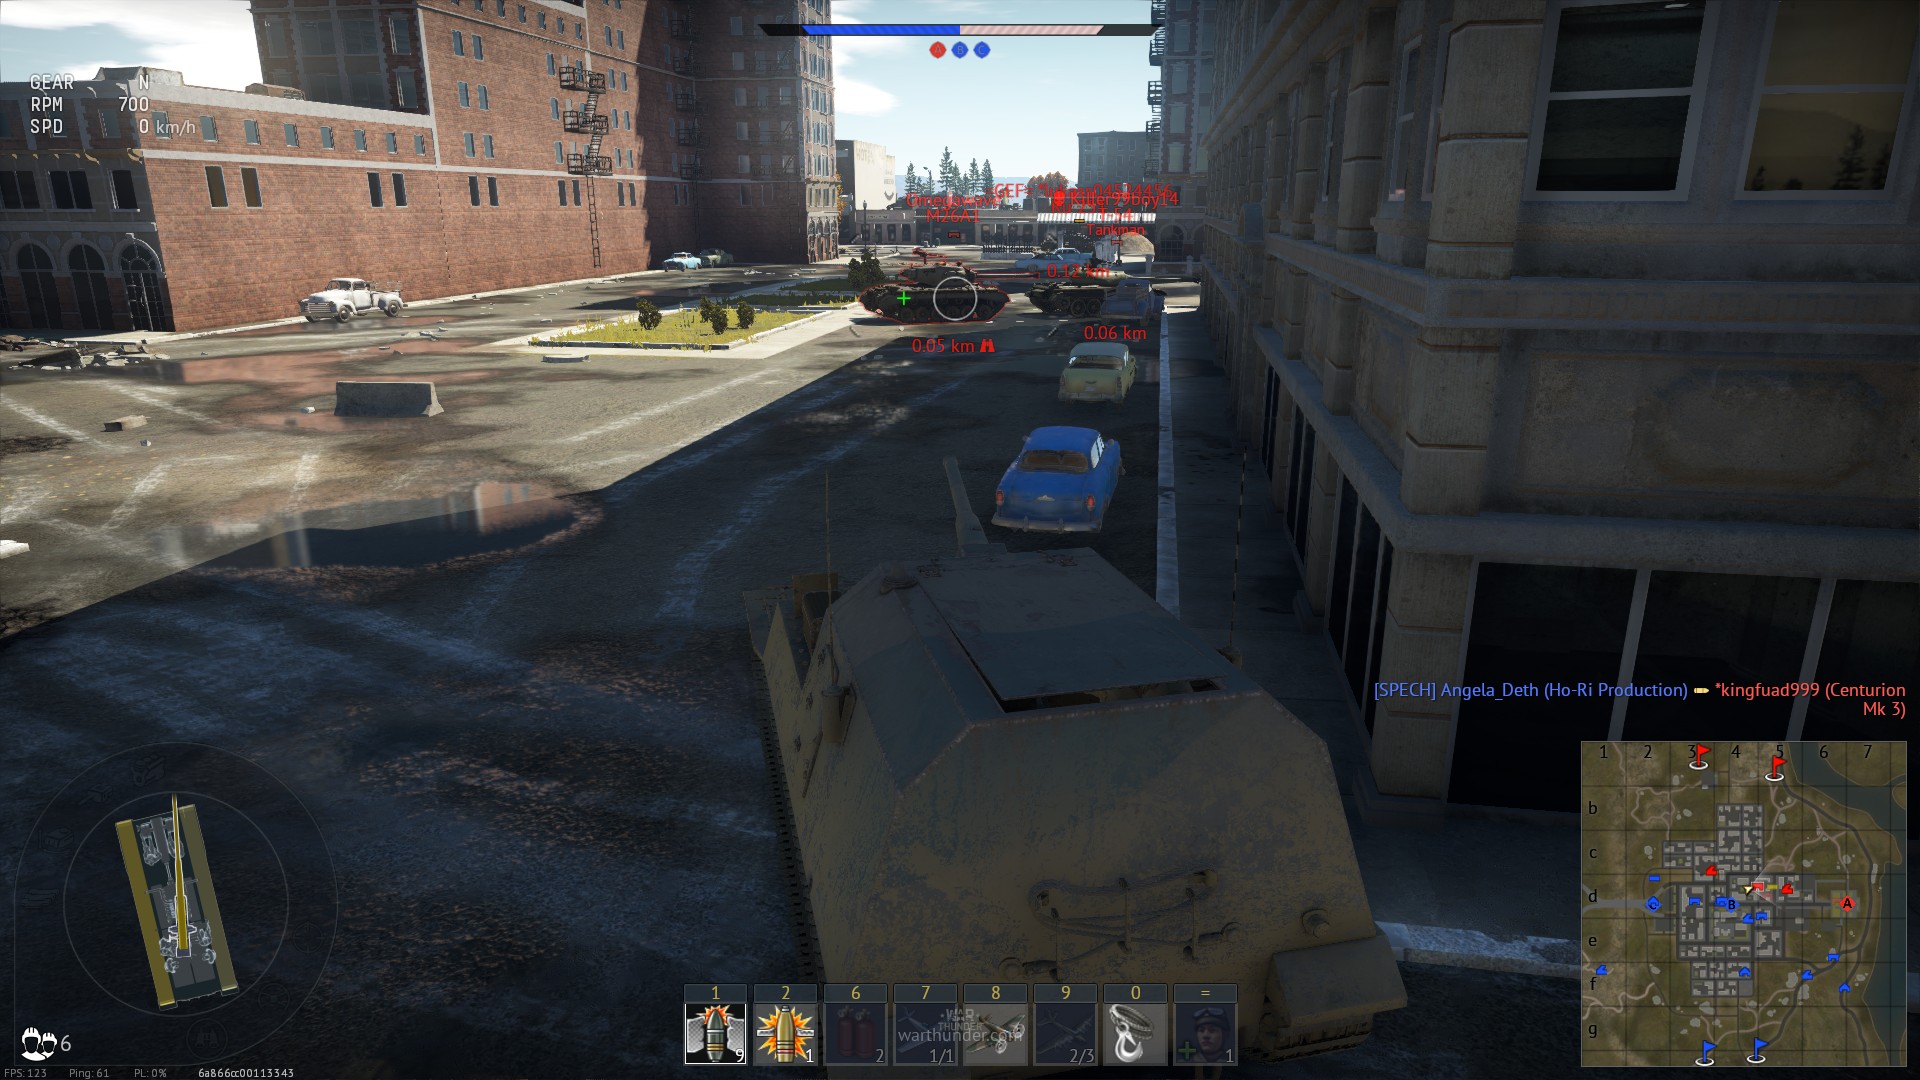
| 23:11, 1 July 2019 | General flanking example - opening.jpg (file) |  |
590 KB | U42773747 | Type 60 ATM stealth-climbed on top of enemy plateau and unleashed an attack on unsuspecting enemy party. To increase morale damage and to remove risk of being scouted, light tank was targeted first. Category:In-game screenshots | 1 |
| 23:17, 1 July 2019 | General flanking example - reason for picking up special tanks.jpg (file) |  |
568 KB | U42773747 | Screenshot shows that while flanking opponents, you will sometimes meet adequate resistance, and thus specialized tanks should be chosen for flanking instead of just using average vehicles. Category:In-game screenshots | 1 |
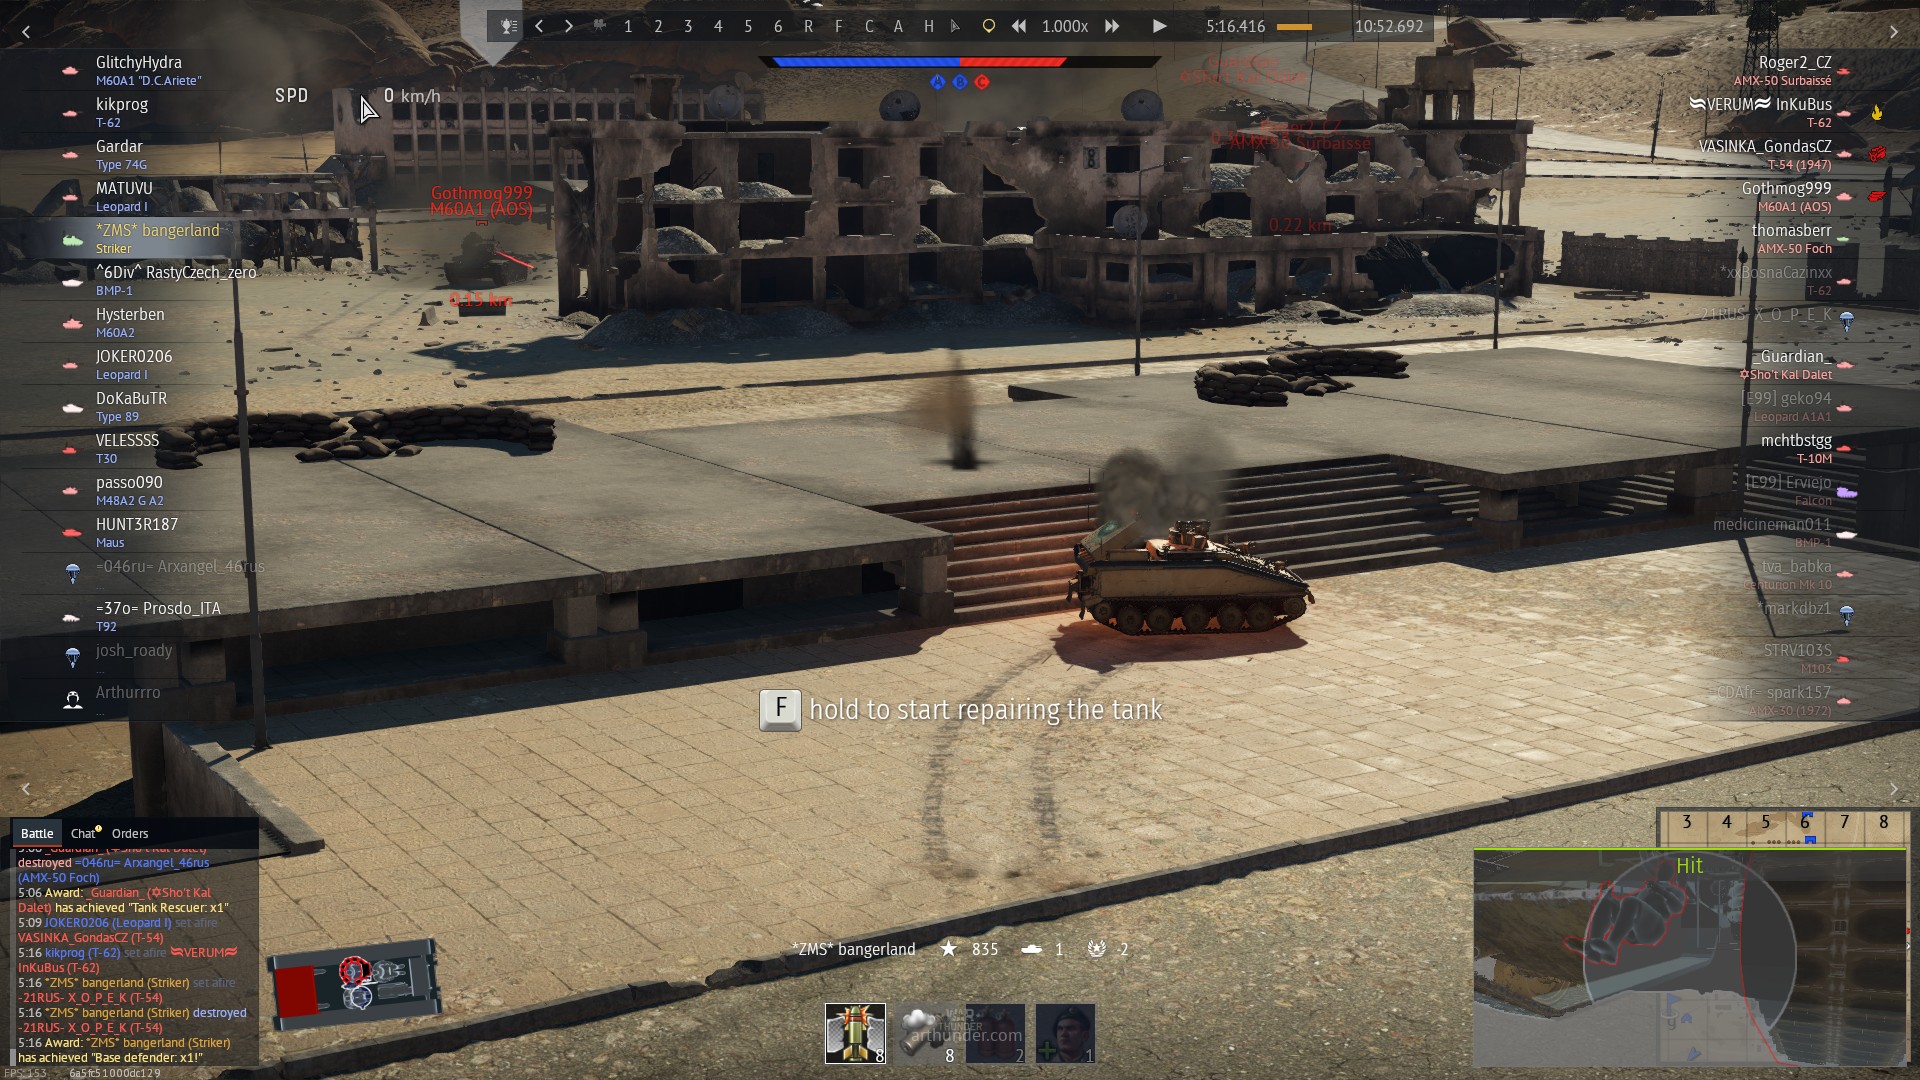
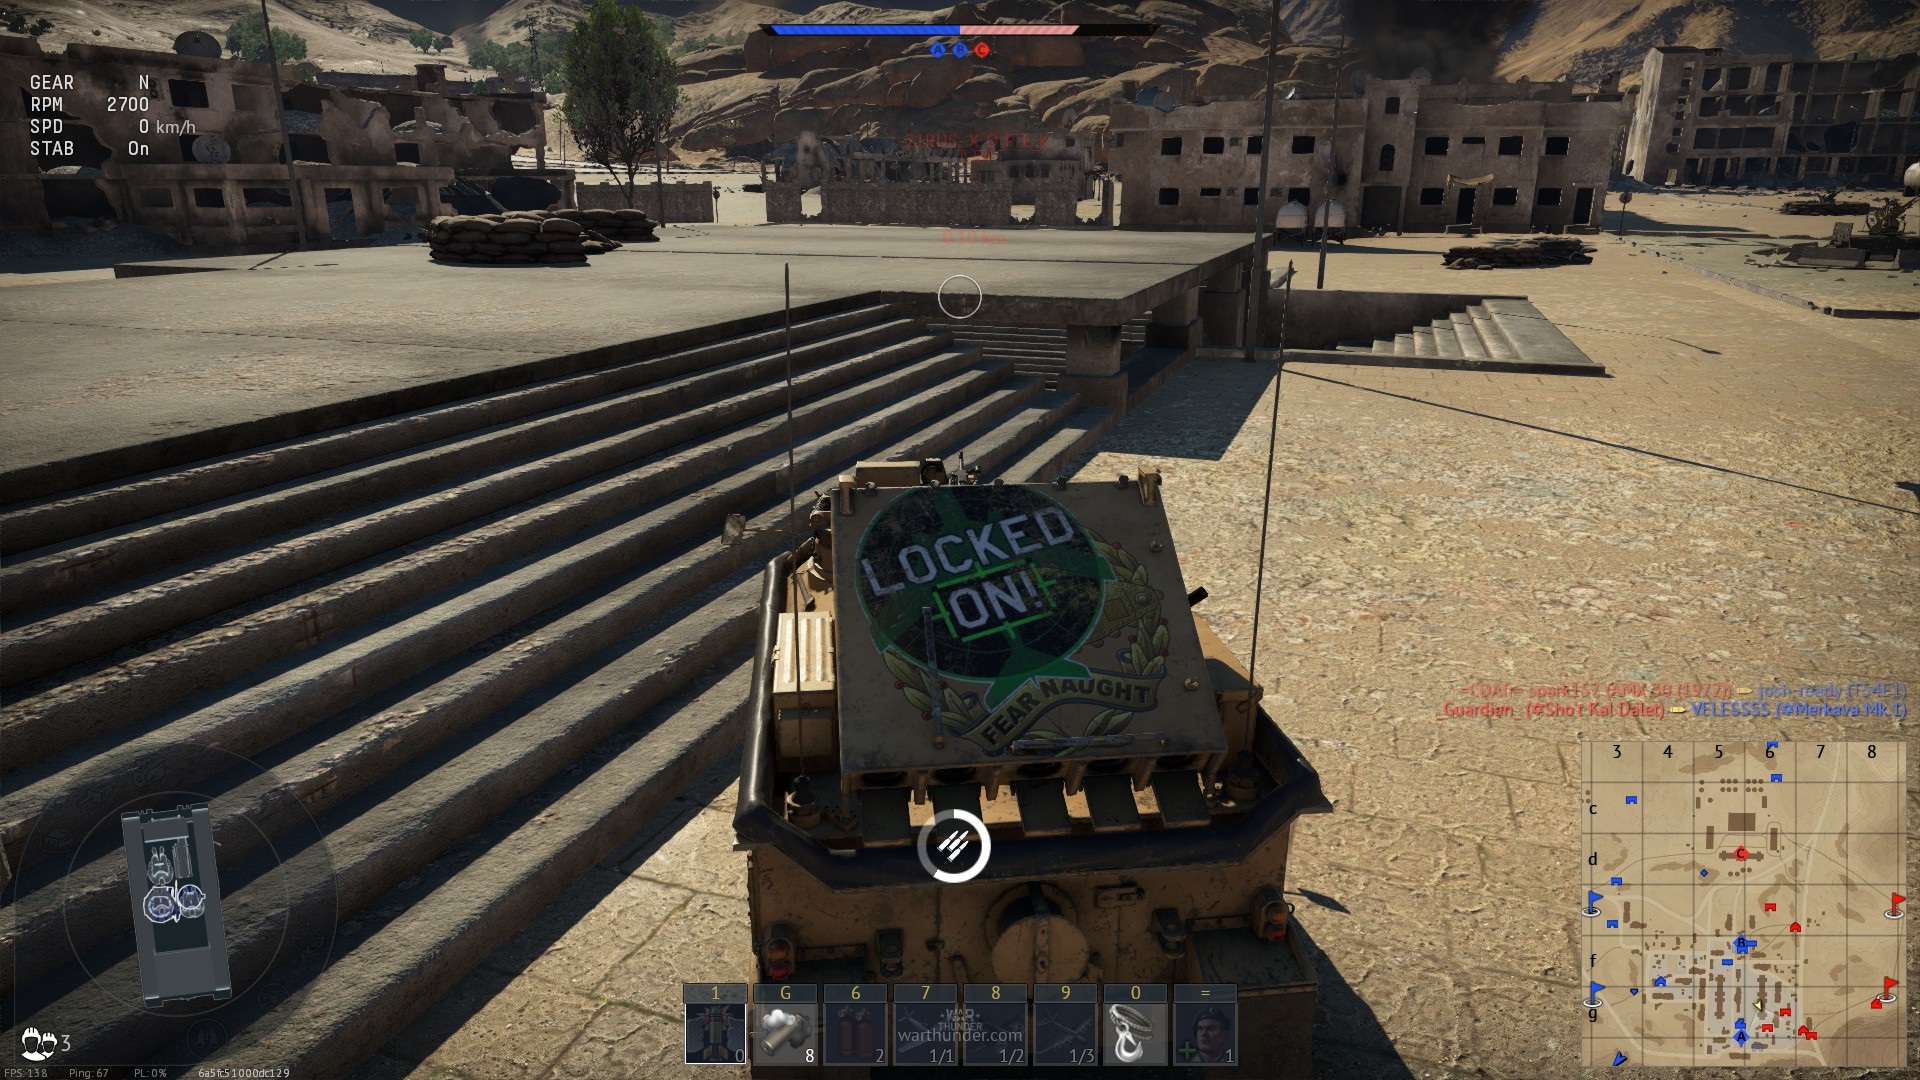
| 23:26, 1 July 2019 | General flanking example - Observation.jpg (file) |  |
580 KB | U42773747 | Screenshot shows the importance of looking around, when player has the time. In this case player noticed an easy target on other capture point. Category:In-game screenshots | 1 |
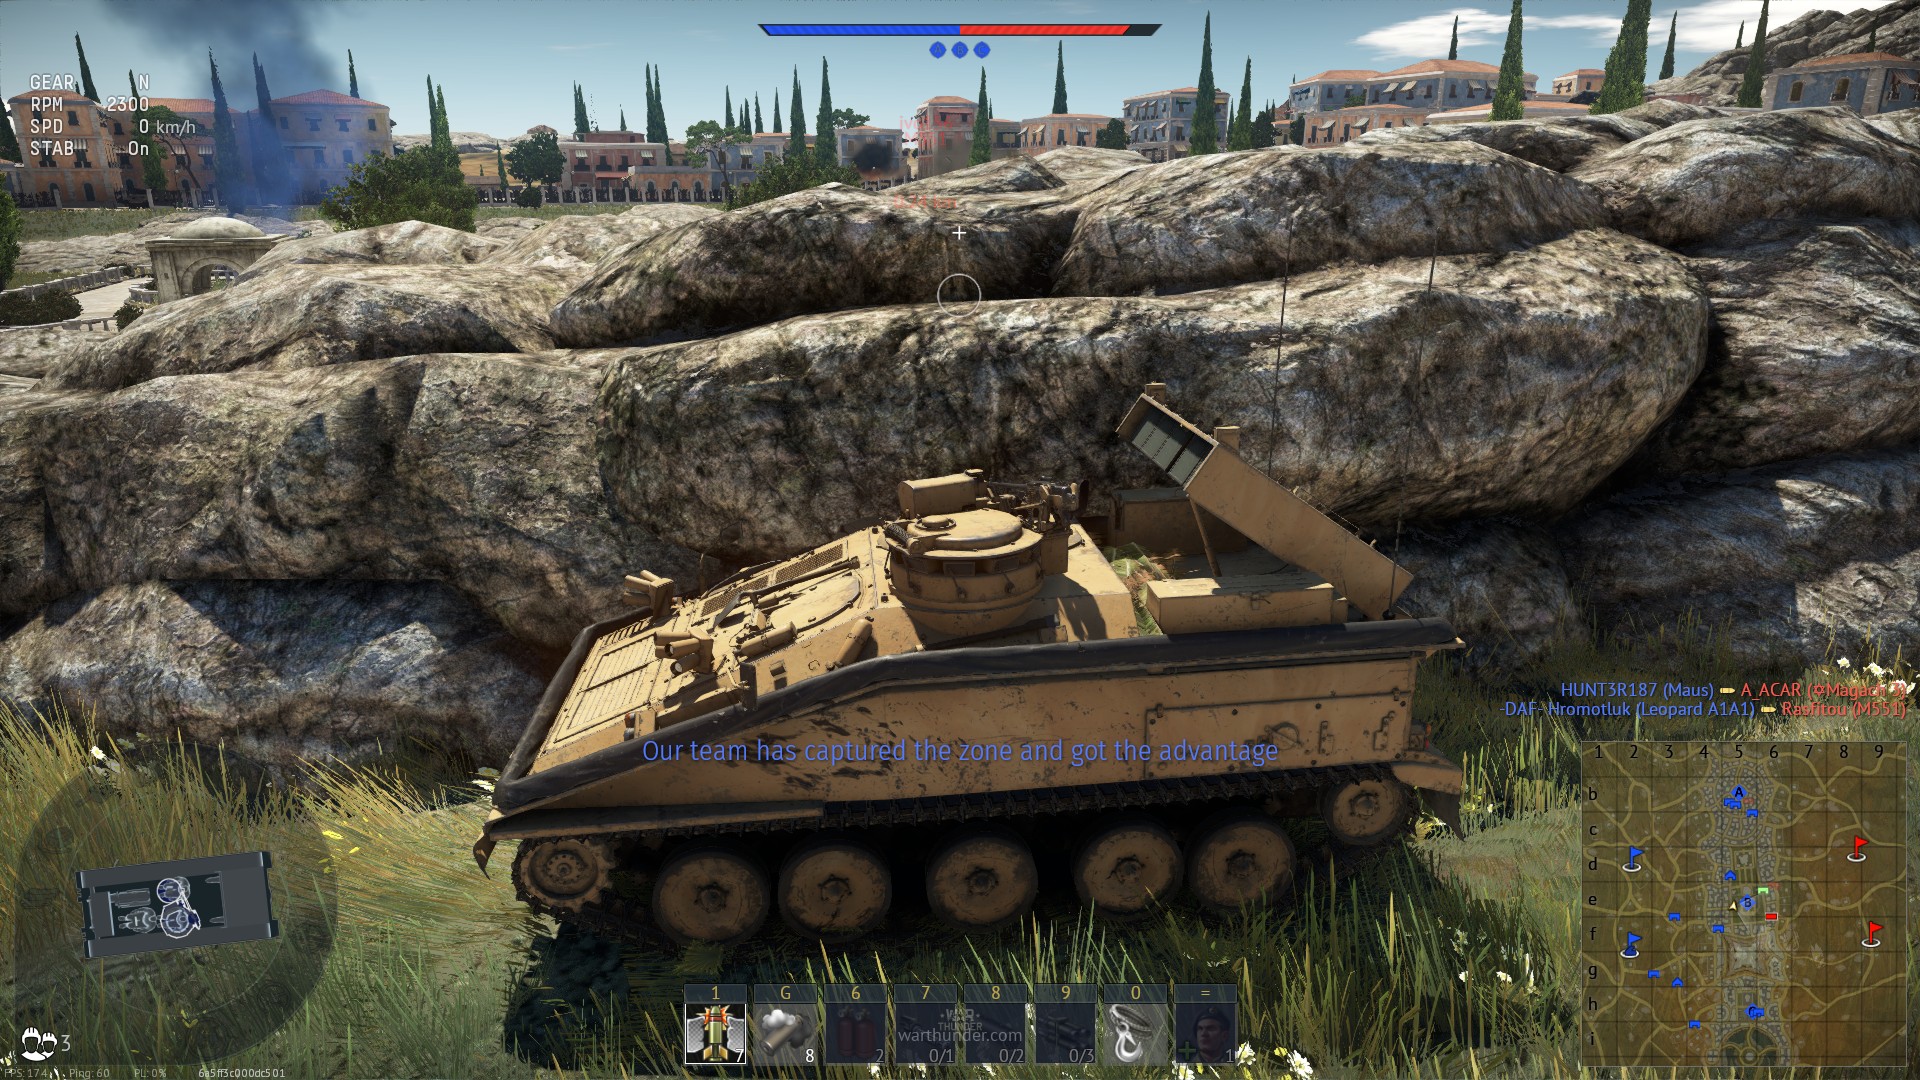
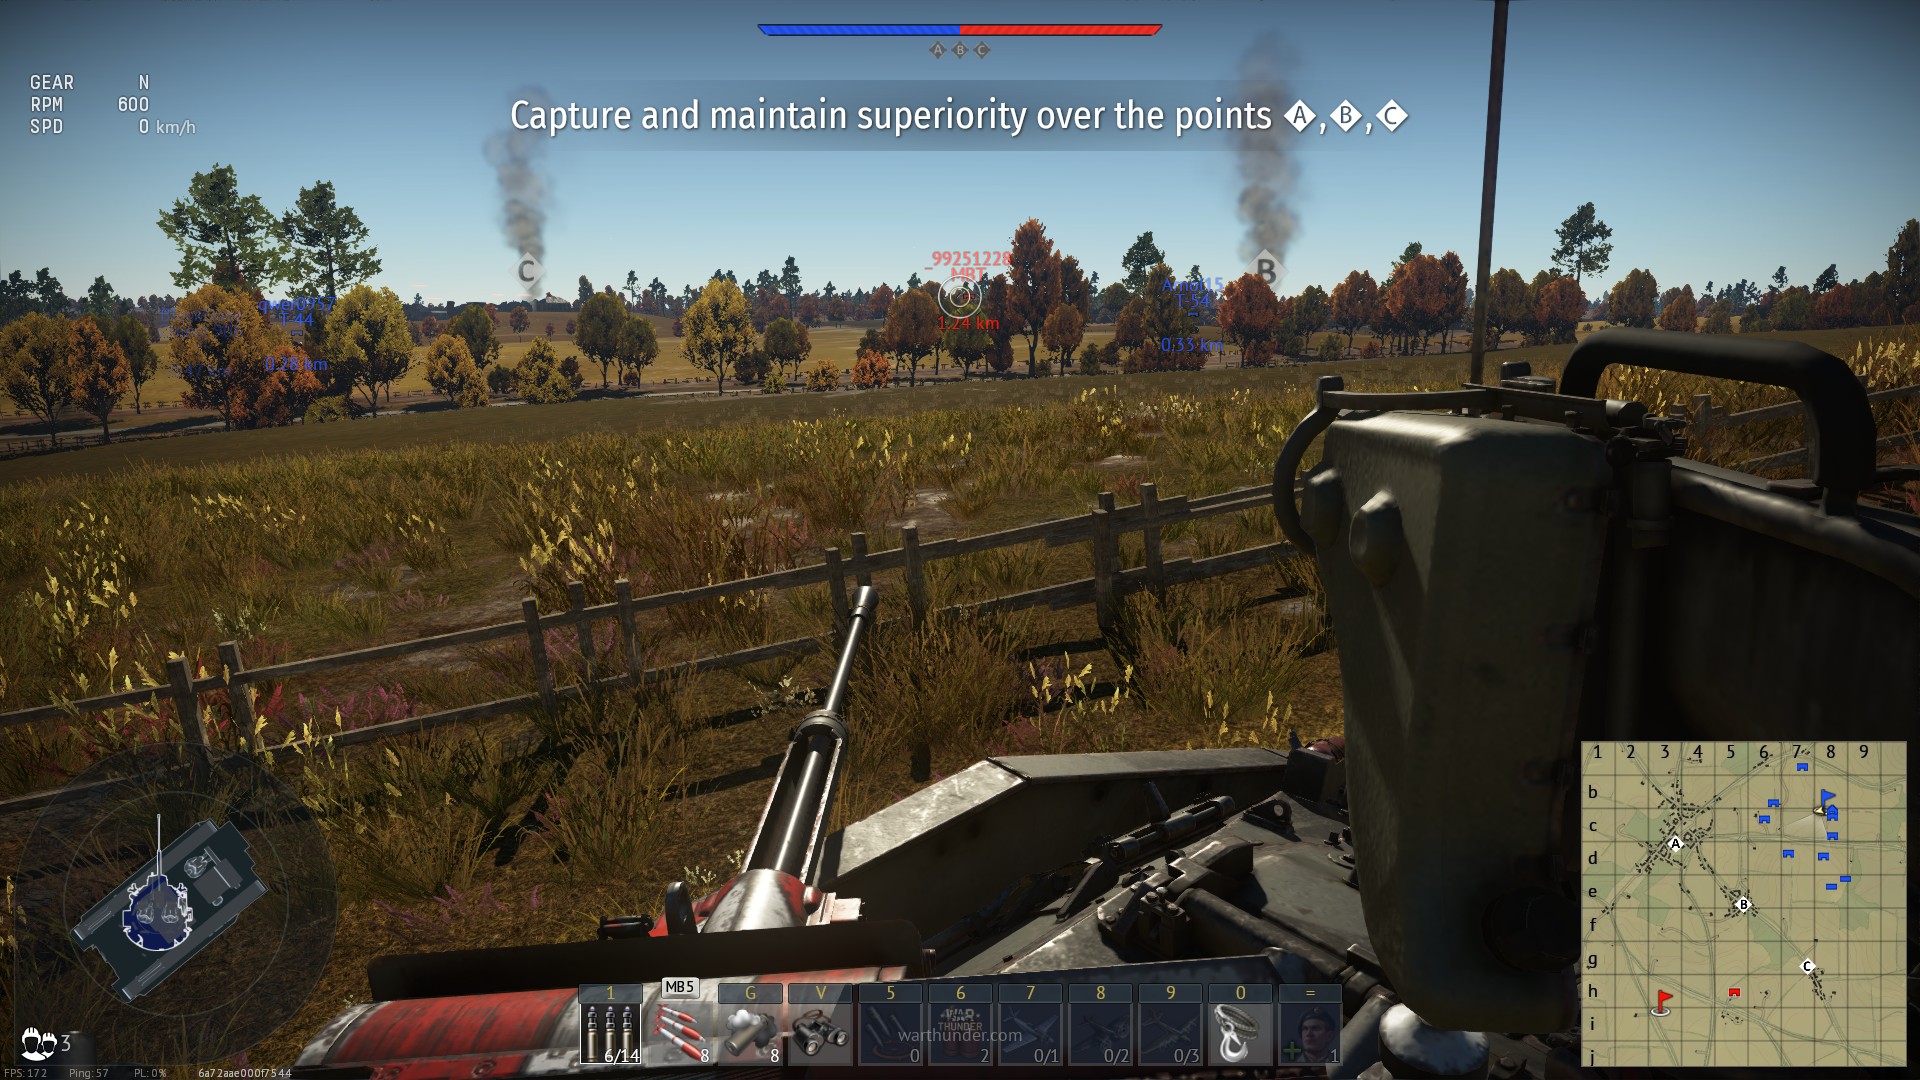
| 23:28, 1 July 2019 | General flanking example - Flank another capture point.jpg (file) |  |
522 KB | U42773747 | Screenshot used in combination with other 2 to show, how oblivious enemy can sometimes be to cross-map flanking. Category:In-game screenshots | 1 |
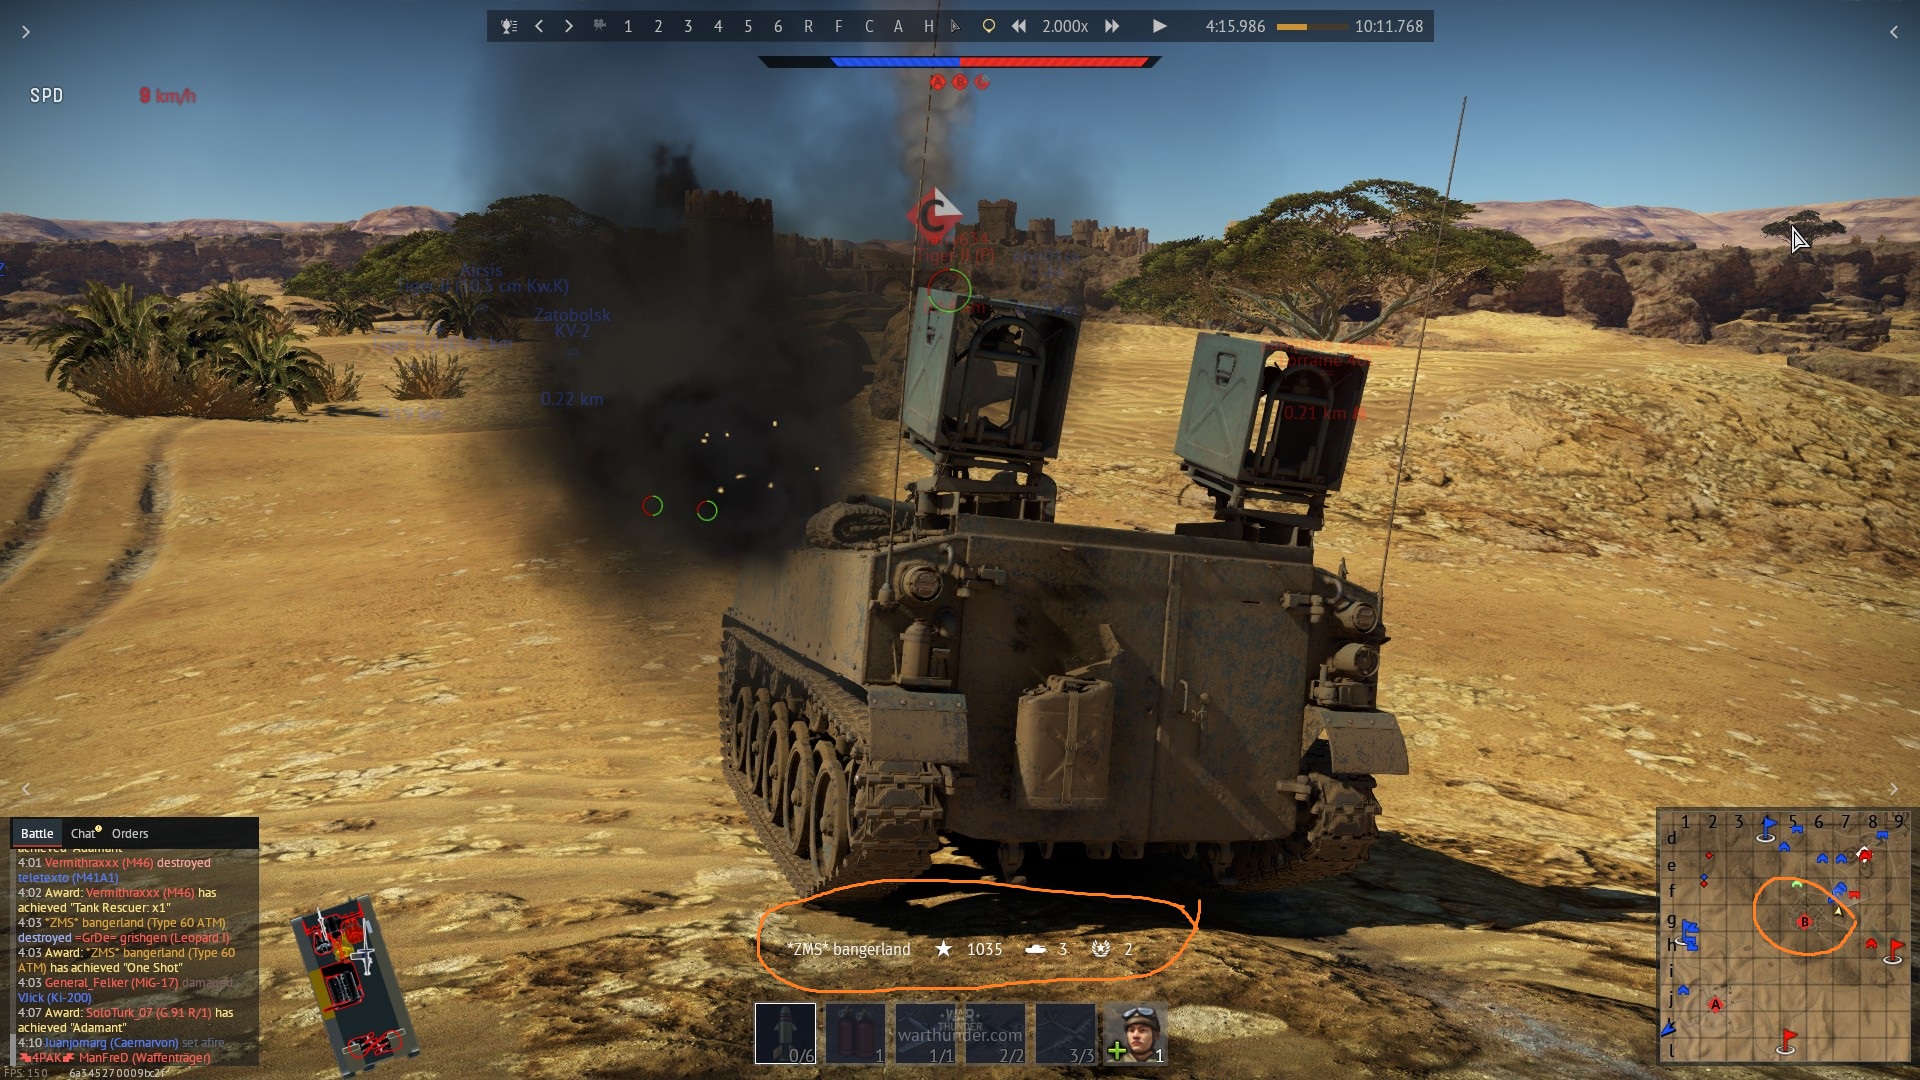
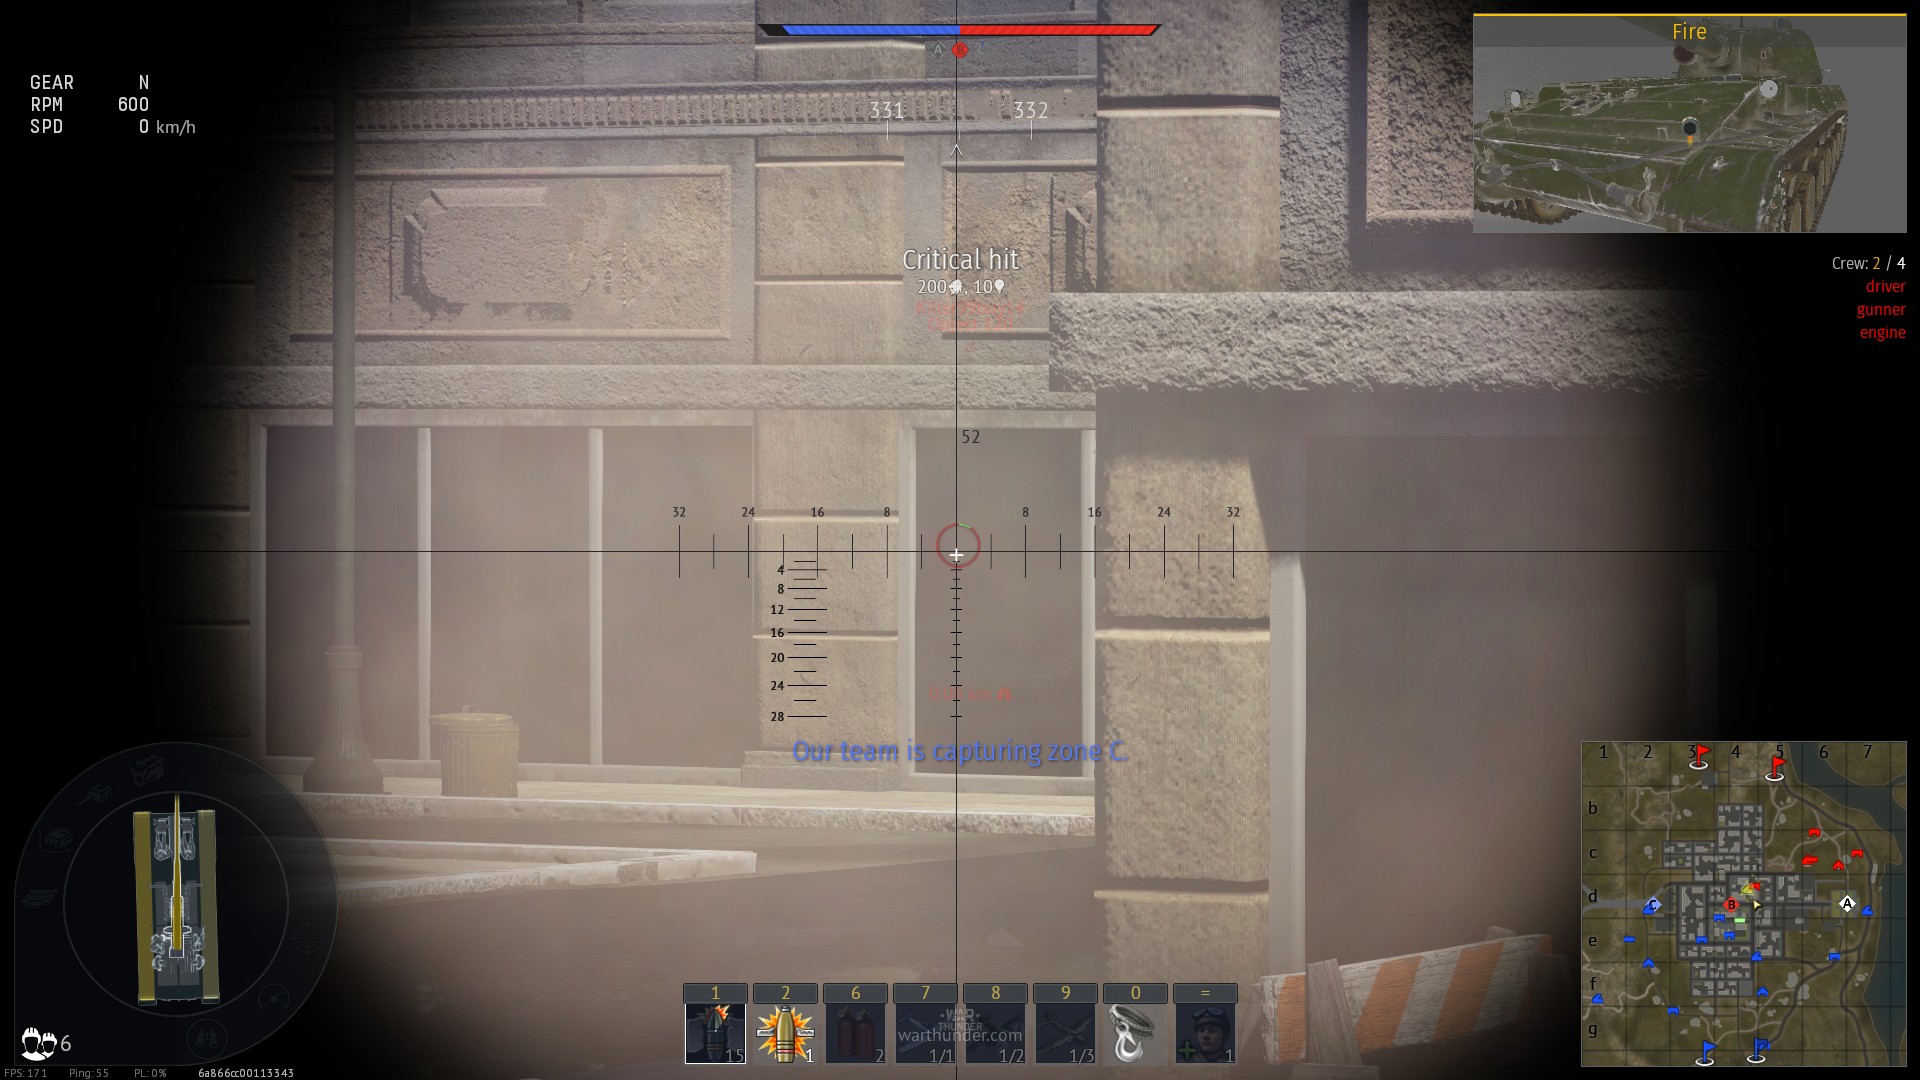
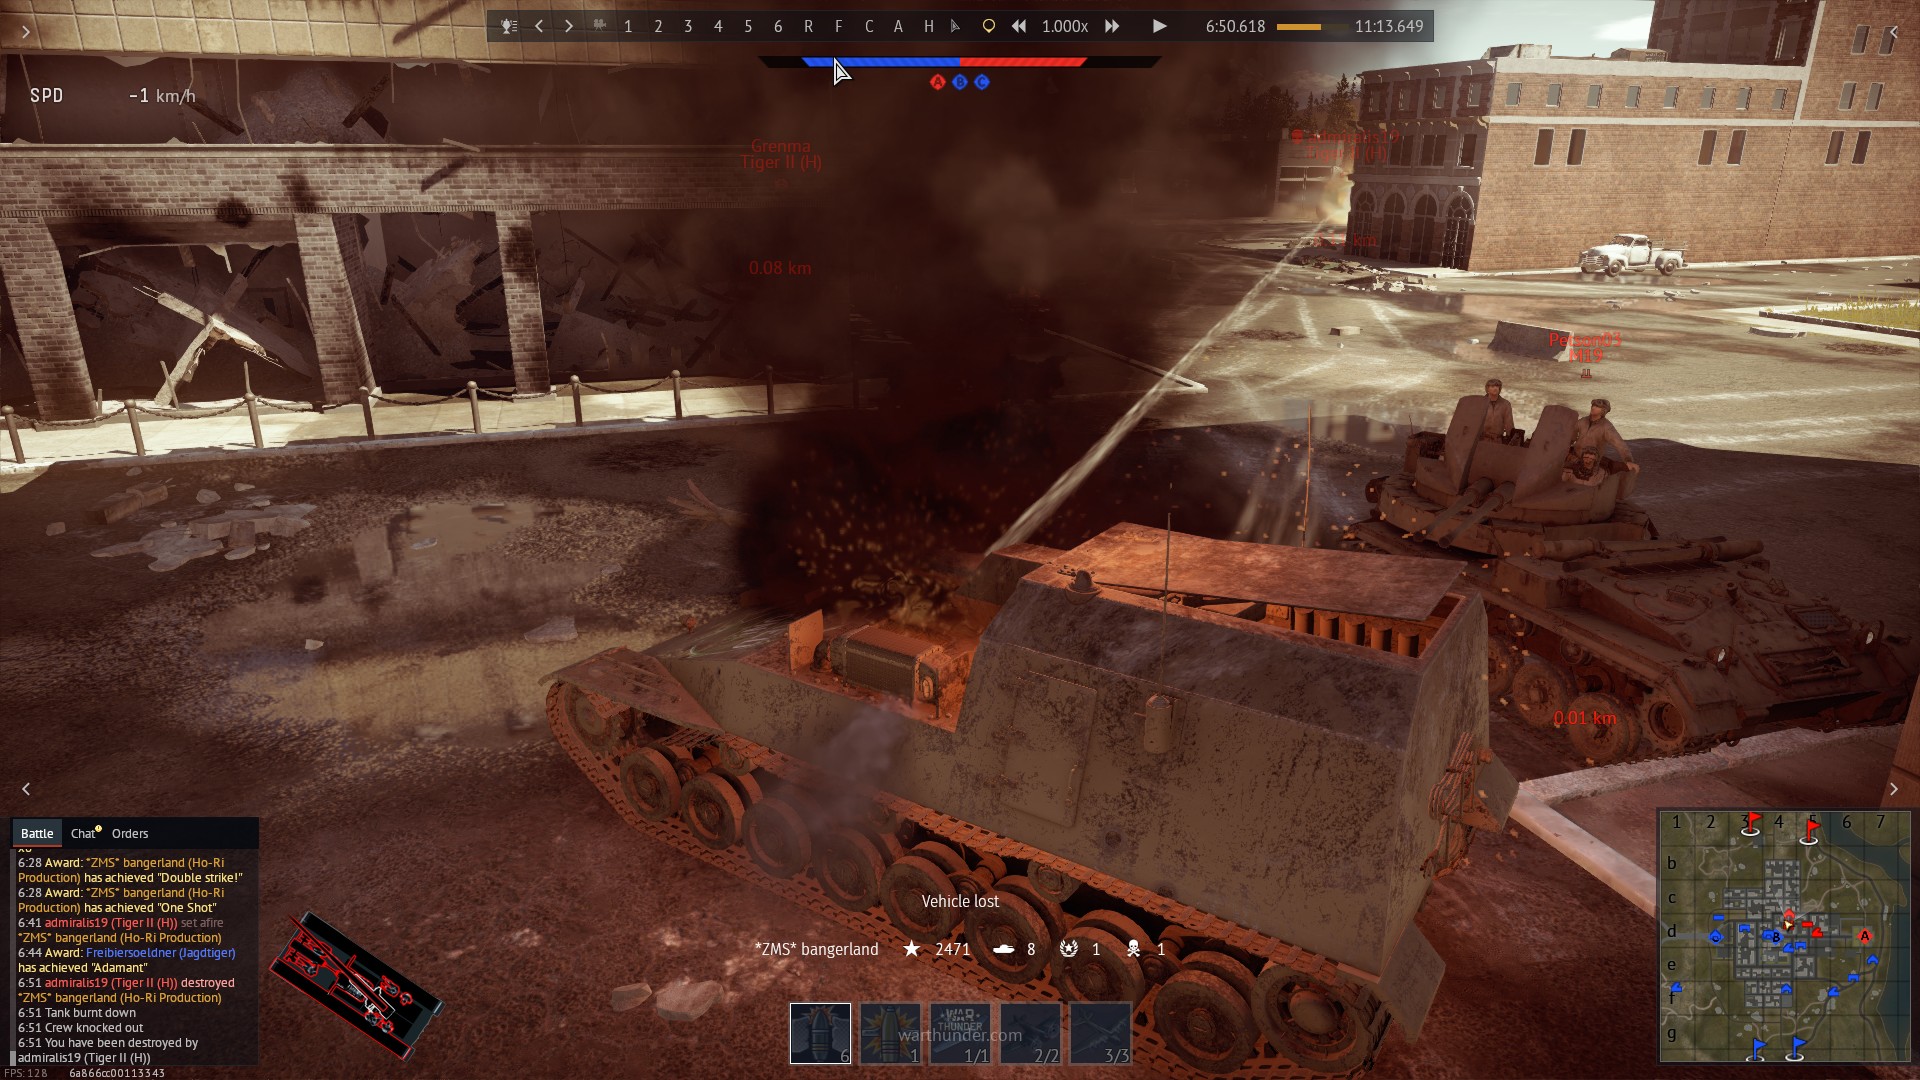
| 23:33, 1 July 2019 | General flanking example - end of the flank.jpg (file) |  |
757 KB | U42773747 | Screenshot shows overall success of initial flank attack during showcased mission. Type 60 ATM is heavily damaged, but managed to completely ruin a 4 tank attack on B point and even do damage on C. Category:In-game screenshots | 1 |
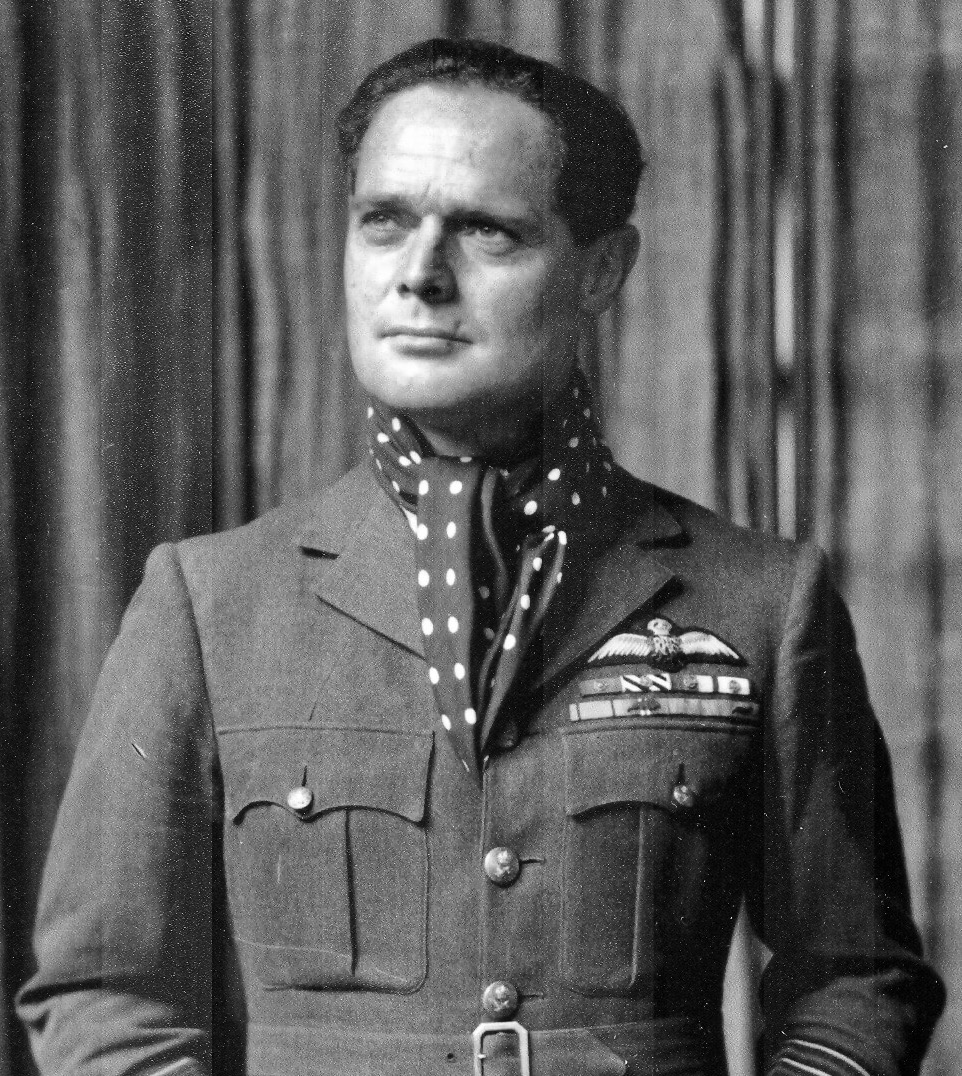
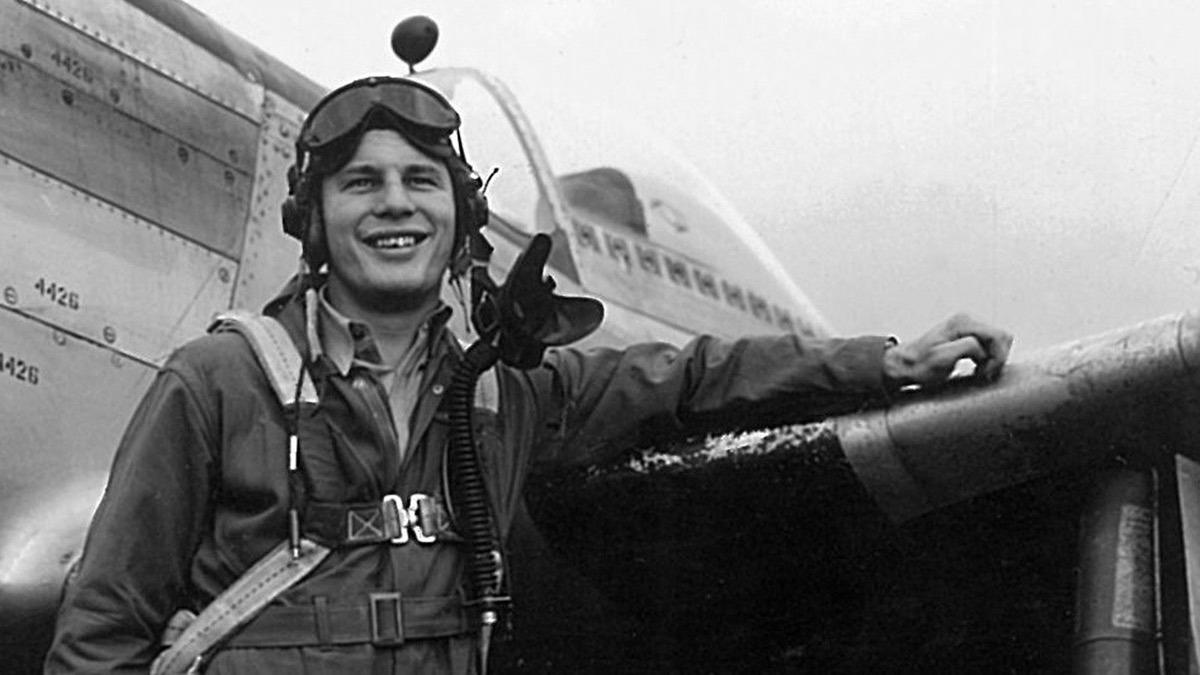
| 13:05, 2 July 2019 | Douglas Bader profile.jpg (file) |  |
429 KB | U64962917 | Image of Sir Douglas Bader, British ace pilot who flew combat sorties for the entire war in Europe with the use of prosthetic legs. The image was found at https://www.thisdayinaviation.com/tag/douglas-bader/, n... | 1 |
| 15:00, 2 July 2019 | Douglas Bader Spitfire.jpg (file) |  |
130 KB | U64962917 | Image of Douglas Bader entering the cockpit of his Spitfire. He did not let the challenge of having prosthetic legs prevent him from flying or serving the R.A.F. during the war. Notice his initials (DB) painted... | 1 |
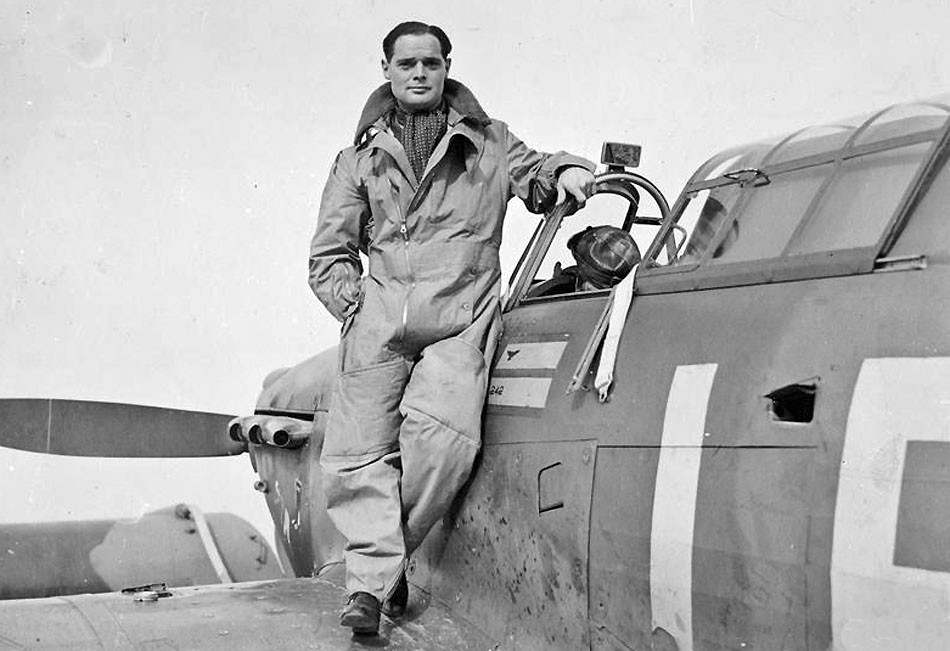
| 15:16, 2 July 2019 | Douglas Bader Hurricane.jpg (file) |  |
187 KB | U64962917 | Image of Douglas Bader posing on his [[Hurricane (Family)|Hawker Hurricane Mk.I| V7467, of No. 242 Squadron, RAF Colitshall, Norfolk, East Anglia, September 1940. This image was found at https://www.thisdayinav... | 1 |
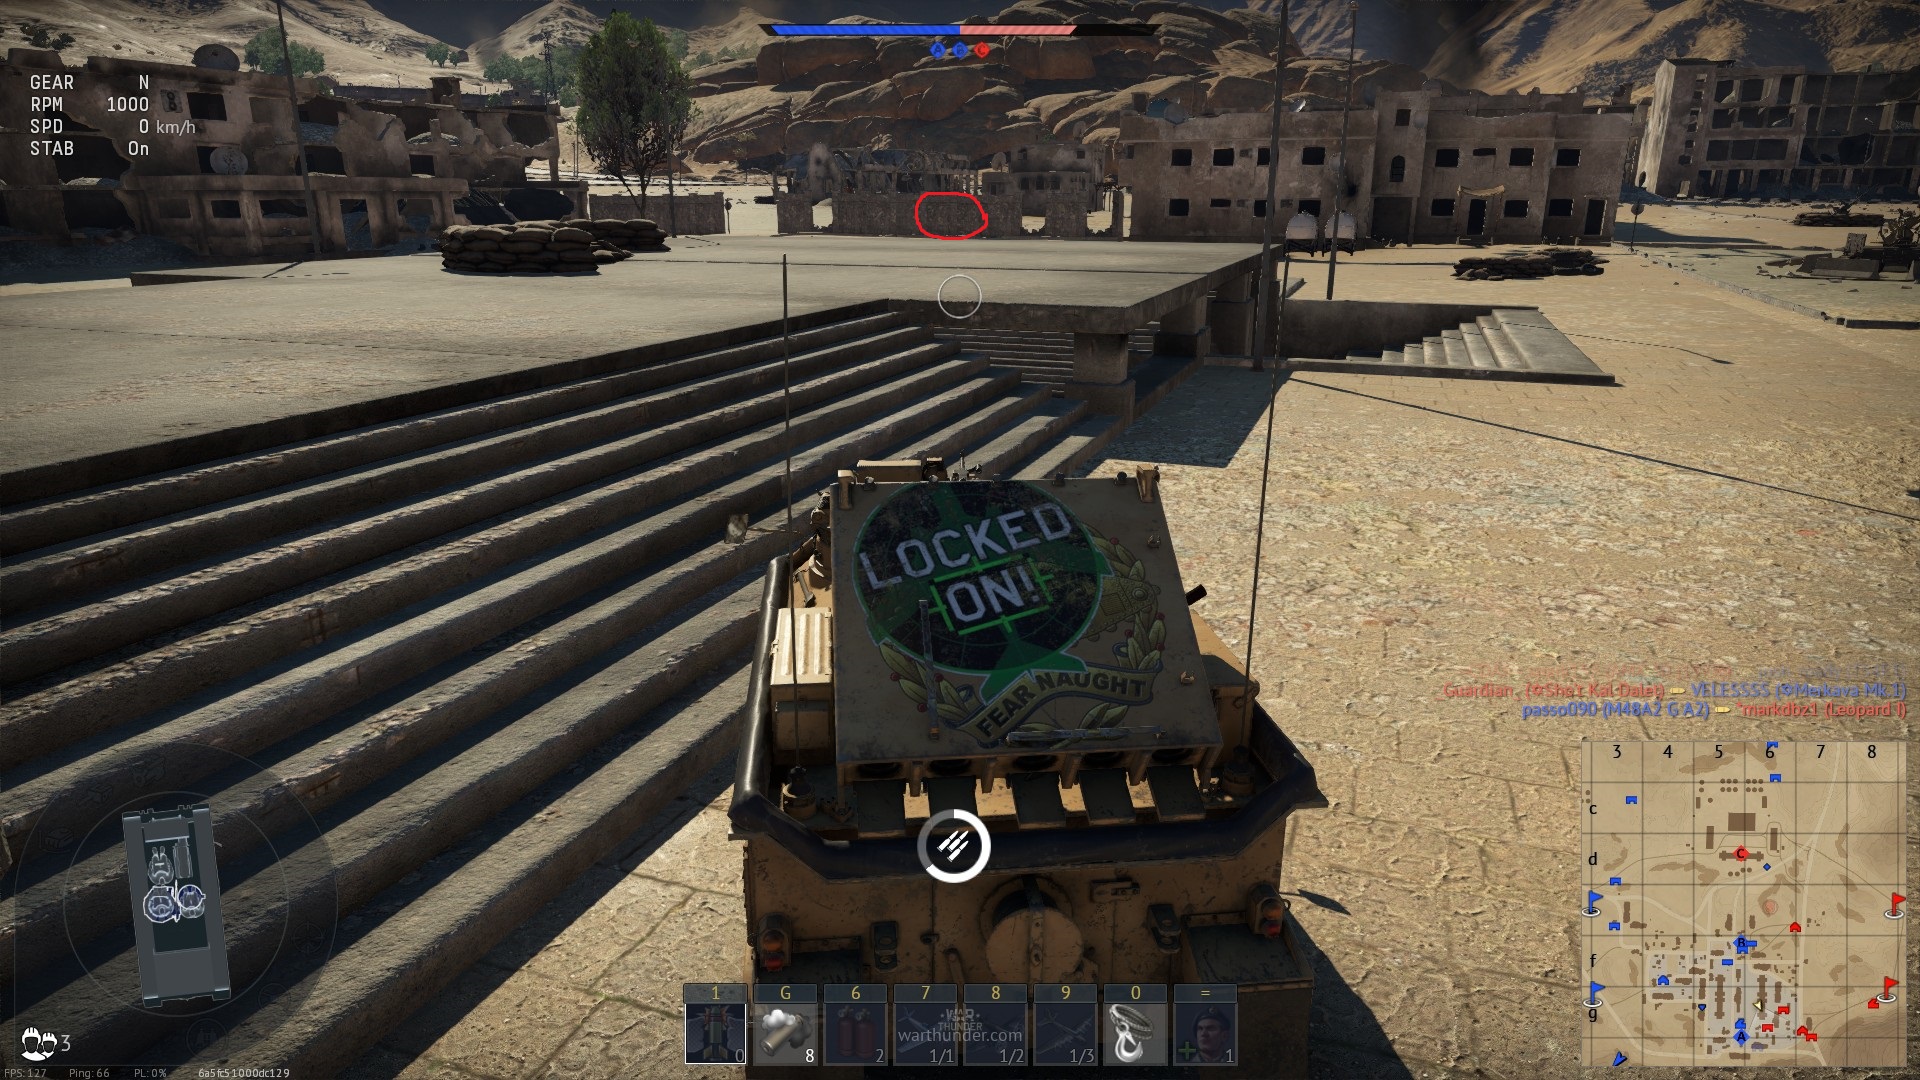
| 15:54, 2 July 2019 | Radio communication AB example.jpg (file) |  |
847 KB | U42773747 | This screenshot shows the power of the "radio communication" skill combined with air support in arcade mode. Category:In-game screenshots | 1 |
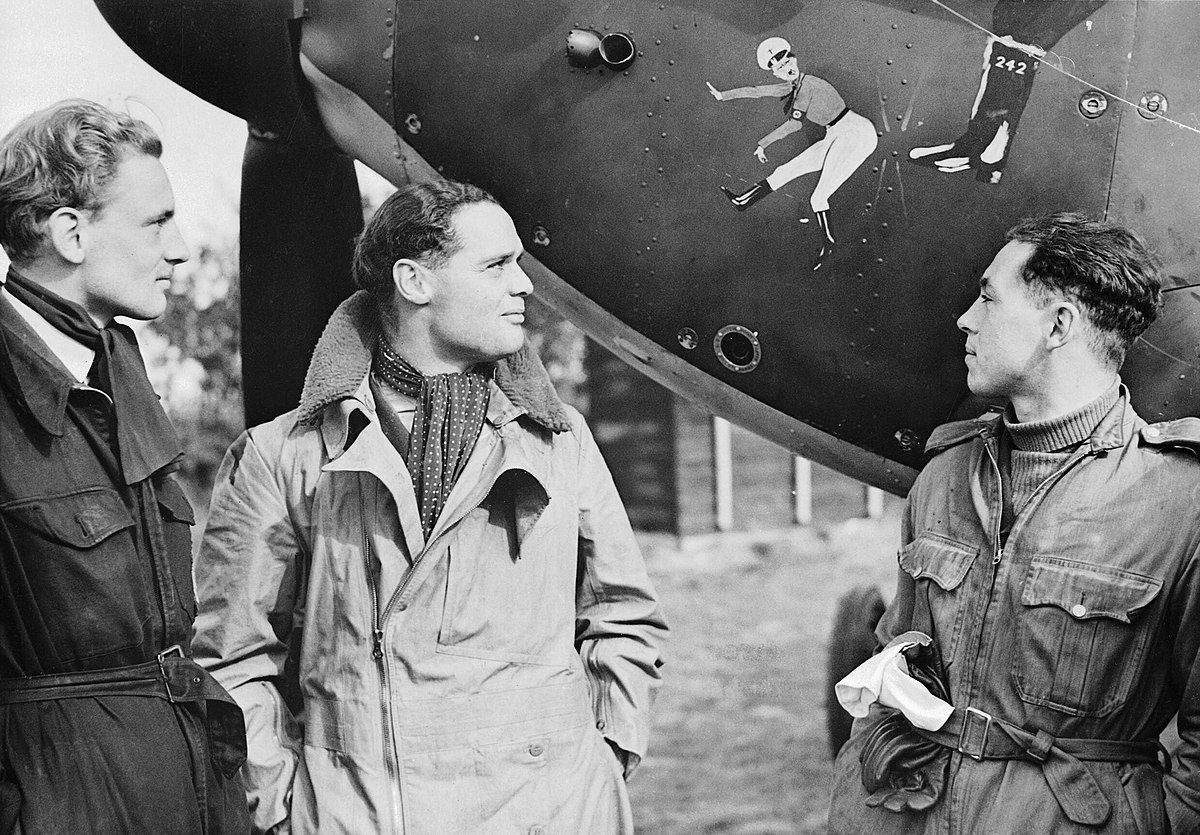
| 14:31, 3 July 2019 | Douglas Bader noseart.jpg (file) |  |
253 KB | U64962917 | Image of Douglas Bader and two other members of No. 242 Squadron. The nose art on Bader's aircraft depicts a boot with the number 242 representing his squadron kicking Hitler in the rear-end. This image was fou... | 1 |
| 21:04, 5 July 2019 | Active Scouting Ability.png (file) | 28 KB | U45283754 | 1 | ||
| 00:36, 6 July 2019 | General flanking example - enemy overlooks flanker.jpg (file) |  |
611 KB | U42773747 | Enemy tank fails to notice tank destroyer and drives pas it, oblivious to it's demise. Category:In-game screenshots | 1 |
| 00:37, 6 July 2019 | General flanking example - flanker overlooks enemy.jpg (file) |  |
602 KB | U42773747 | In this screenshot, flanking tank destroyer fails to notice enemy tank, which stumbled upon it. File:General flanking example - enemy overlooks flanker.jpg | 1 |
| 00:49, 6 July 2019 | Average keen vision example.jpg (file) |  |
684 KB | U42773747 | Screenshot shows, that tank should be visibly exposed to get marked by people with no keen vision. In reality, there is a lot of trees and trash in between two tanks, but for convenience screenshot was taken from another angle. [[Category:In-game scre... | 1 |
| 01:00, 6 July 2019 | Maxed out keen vision - over distance.jpg (file) |  |
878 KB | U42773747 | Maxed out keen vision allows tank destroyer to notice a person behind a building far away. You can tell, that enemy is behind building, because the mark is darkened. Category:In-game screenshots | 1 |
| 01:03, 6 July 2019 | Maxed out keen vision - over corner.jpg (file) |  |
589 KB | U42773747 | Tank destroyer is pushing limits of keen vision by trying to spot enemy tank around corner. Category:In-game screenshots | 1 |
| 01:08, 6 July 2019 | Maxed out keen vision - through cover.jpg (file) |  |
739 KB | U42773747 | Tank destroyer is using maximal keen vision while being infront of it's cover, to see enemy over it. This generally requires extremely high skill level, as well as at least "expert" crew. Category:In-game screenshots | 1 |
| 01:18, 6 July 2019 | Maxed out keen vision - wall detection failure.jpg (file) |  |
793 KB | U42773747 | Tank destroyer is trying to see enemy tank, but despite maximum keen vision possible it cannot. Enemy tank is located in marked area. Category:In-game screenshots | 1 |
| 01:20, 6 July 2019 | Maxed out keen vision - wall detection.jpg (file) |  |
793 KB | U42773747 | Screenshot shows at which range away from corner of cover Maxed keen vision will spot enemy tank behind a stone wall. Category:In-game screenshots | 1 |
| 01:23, 6 July 2019 | Vision example - no smoke.jpg (file) |  |
544 KB | U42773747 | Screenshot showcases vision and smoke mechanics in arcade battle mode. This screenshot is first in series, to show how enemy looks like with no smoke present. Category:In-game screenshots | 1 |
| 01:26, 6 July 2019 | Vision example - smoke didn't set in.jpg (file) |  |
336 KB | U42773747 | Screenshot showcases vision and smoke mechanics in arcade battle mode. This screenshot is second in series, to show how enemy looks like with no smoke being present, but not quite setting in yet (5 or 2 second delay still didn't pass) [[Category:In-ga... | 1 |
| 01:28, 6 July 2019 | Vision example - smoke set in.jpg (file) |  |
266 KB | U42773747 | Screenshot showcases vision and smoke mechanics in arcade battle mode. This screenshot is third in series, to show how enemy looks like with smoke being present. Only the "scouted" target is visible, per rules. Category:In-game screenshots | 1 |
| 01:41, 6 July 2019 | General flanking example - getting to the capture point.jpg (file) |  |
807 KB | U42773747 | Self explanatory. Screenshot is supposed to help notice some important details of maps, when you are playing "flanker" Category:In-game screenshots | 1 |
| 01:59, 6 July 2019 | General flanking example - late game flank.jpg (file) |  |
738 KB | U42773747 | Screenshot showcases Swingfire using radio communication to freely flank enemy medium tank. Category:In-game screenshots | 1 |
| 02:01, 6 July 2019 | General flanking example - avoiding threats.jpg (file) |  |
823 KB | U42773747 | Screenshot shows Panther II, which managed to avoid entire enemy team for a long time using tunnels and smart movement. Their game is finally over, when the scout tank notices them. Category:In-game screenshots | 1 |
| 02:08, 6 July 2019 | Wall flank - scout duel.jpg (file) |  |
291 KB | U42773747 | Screenshot showcases Warrior and OBJ-906 scouting eachother on map of alaska and trying to destroy eachother through a wall. It may look like Warrior won, but any of their allies is free to join the duel at any moment. Category:In-game screenshots | 1 |
| 02:17, 6 July 2019 | Wall flank - beginning.jpg (file) |  |
370 KB | U42773747 | Screenshot is used in a series. Shows situation in a typical failed flank - Ho-Ri is forced to fight a bunch of tanks it can't really destroy frontally. Category:In-game screenshots | 1 |
| 02:25, 6 July 2019 | Wall flank - Scout supports SPG.jpg (file) |  |
350 KB | U42773747 | Screenshot shows Ho-Ri firing through wall with a help of scout. Category:In-game screenshots | 1 |
| 02:32, 6 July 2019 | Wall flank - SPG attacks by keen vision.jpg (file) |  |
427 KB | U42773747 | Screenshot shows Ho-Ri destroying enemy heavy tank through a wall. High keen vision was used instead of "scouting". Category:In-game screenshots | 1 |
| 02:41, 6 July 2019 | Wall flank - transfer into normal flank.jpg (file) | 432 KB | U42773747 | Screenshot showcases a successfull flank into weakened enemy team, after "wall flank" cleanup. Category:In-game screenshots | 1 | |
| 02:49, 6 July 2019 | Wall flank - result.jpg (file) |  |
516 KB | U42773747 | Screenshot showcases the end result of a successfull flank with through-wall attacks. Category:In-game screenshots | 1 |
| 03:00, 6 July 2019 | Sniping tactics - stay out of sight mozdok north team.jpg (file) |  |
558 KB | U42773747 | Scheenshot from single cap mozdok map, which is notorious for being a "shooting range with no cover". This is a sniping spot which allows to hide from most of opponents and reduce the amount of incoming fire for north team. [[Category:In-game screensh... | 1 |
| 03:01, 6 July 2019 | Sniping tactics - stay out of sight mozdok south team.jpg (file) |  |
830 KB | U42773747 | Scheenshot from single cap mozdok map, which is notorious for being a "shooting range with no cover". This is a sniping spot which allows to hide from most of opponents and reduce the amount of incoming fire for south team. [[Category:In-game screens... | 1 |
| 03:07, 6 July 2019 | Sniping tactics - High ground out of sight.jpg (file) |  |
421 KB | U42773747 | Screenshot shows hostile Striker using high ground on edge of a map, just far enough away from general sniper spotting directions to not be noticed. Only missiles are visible. It is also far enough for normal tanks to fail spotting it regardless. [[Ca... | 1 |
| 03:14, 6 July 2019 | Sniping tactics - Special sniper cave.jpg (file) |  |
657 KB | U42773747 | Screenshot showcases special sniper spot on "middle east" which is useable by east team. It is a haven for scout and sniper tanks, and allows to snipe all three capture points, while being mostly concealed. Category:In-game screenshots | 1 |
| 03:24, 6 July 2019 | Vertical ATGM tactics - ambush attack.jpg (file) |  |
863 KB | U42773747 | Screenshot showcases Striker attacking Sheridan over cover, while remaining invisible. Category:In-game screenshots | 1 |
| 05:09, 6 July 2019 | Vertical ATGM tactics - Snipe from unexpected places.jpg (file) |  |
764 KB | U42773747 | Screenshot shows Striker assaulting B point from low ground, while being surrounded by enemy. Category:In-game screenshots | 1 |
| 10:31, 6 July 2019 | NC.900 Alt Camo.png (file) |  |
1.28 MB | U33885260 | 1 | |
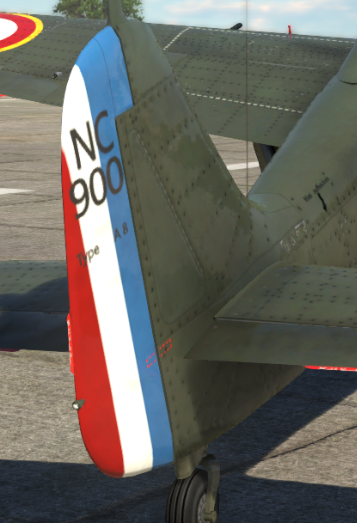
| 10:35, 6 July 2019 | NC.900 Tail.png (file) |  |
359 KB | U33885260 | 1 | |
| 14:31, 6 July 2019 | Ki-94-II Alt camo.png (file) |  |
976 KB | U33885260 | 1 | |
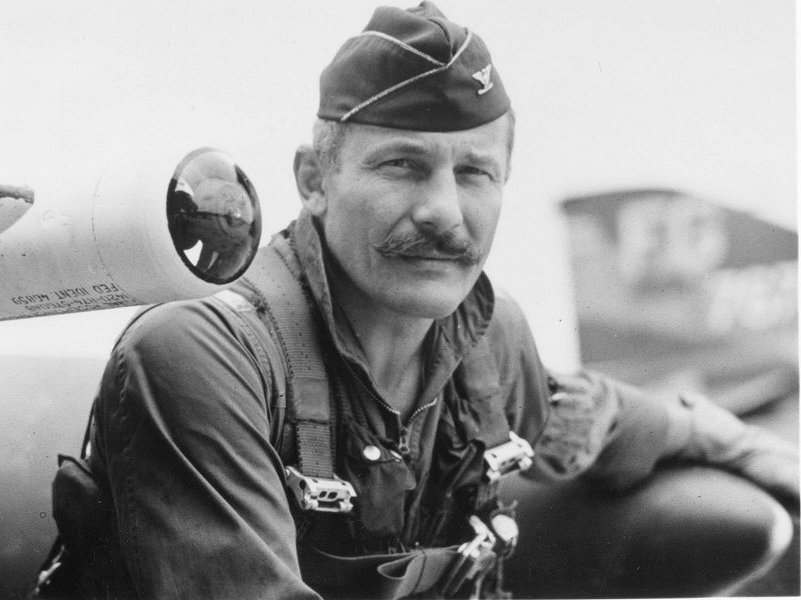
| 01:39, 8 July 2019 | Robin Olds portrait.jpg (file) |  |
74 KB | U64962917 | Image of (here) Colonel Robin Olds, triple ace who fought both in World War II and Vietnam (tried to volunteer for Korea several times, but was denied. He downed 12 German fighters and four MiG jets, flying a [[P-38J-15|P... | 1 |
| 20:53, 8 July 2019 | Robin-Olds-P-38.jpg (file) |  |
312 KB | U64962917 | Image of Robin Olds standing in front of his P-38J fighter, SCAT II. This image was found at https://www.thisdayinaviation.com/tag/raf-bentwaters/ with a copyright notice linked to the Imperial War Museum.... | 1 |
| 20:54, 8 July 2019 | Robin Olds SCAT V.jpg (file) |  |
127 KB | U64962917 | Image of Robin Olds standing in front of his P-51D-25 fighter, SCAT V. This image was found at https://www.thisdayinaviation.com/tag/raf-bentwaters/ with a copyright notice linked to the Imperial War Muse... | 1 |
| 20:56, 8 July 2019 | Robin Olds Scat VII.jpg (file) |  |
565 KB | U64962917 | Image of Robin Olds flying in P-51-25 fighter, SCAT VII. This image was taken from a B-17 he was escorting over Germany. This image was found at https://www.thisdayinaviation.com/tag/raf-bentwaters/ with a... | 1 |
| 20:58, 8 July 2019 | Robin Olds F100C.jpg (file) |  |
53 KB | U64962917 | Image of Robin Olds standing in front of his McDonnell F-101C Voodoo fighter-bomber at R.A.F. Bentwaters where he was commanding a fighter wing. This image was found at https://www.thisdayinaviation.com/tag/raf-bentwater... | 1 |
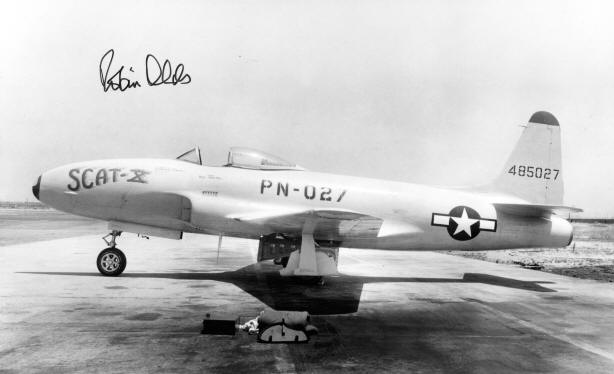
| 20:59, 8 July 2019 | Robin Olds Scat X.jpg (file) |  |
28 KB | U64962917 | Image of Robin Olds' P-80 Shooting Star, SCAT X. This image was found at https://www.thisdayinaviation.com/tag/raf-bentwaters/ with a copyright notice linked to the Imperial War Museum. Material identified... | 1 |
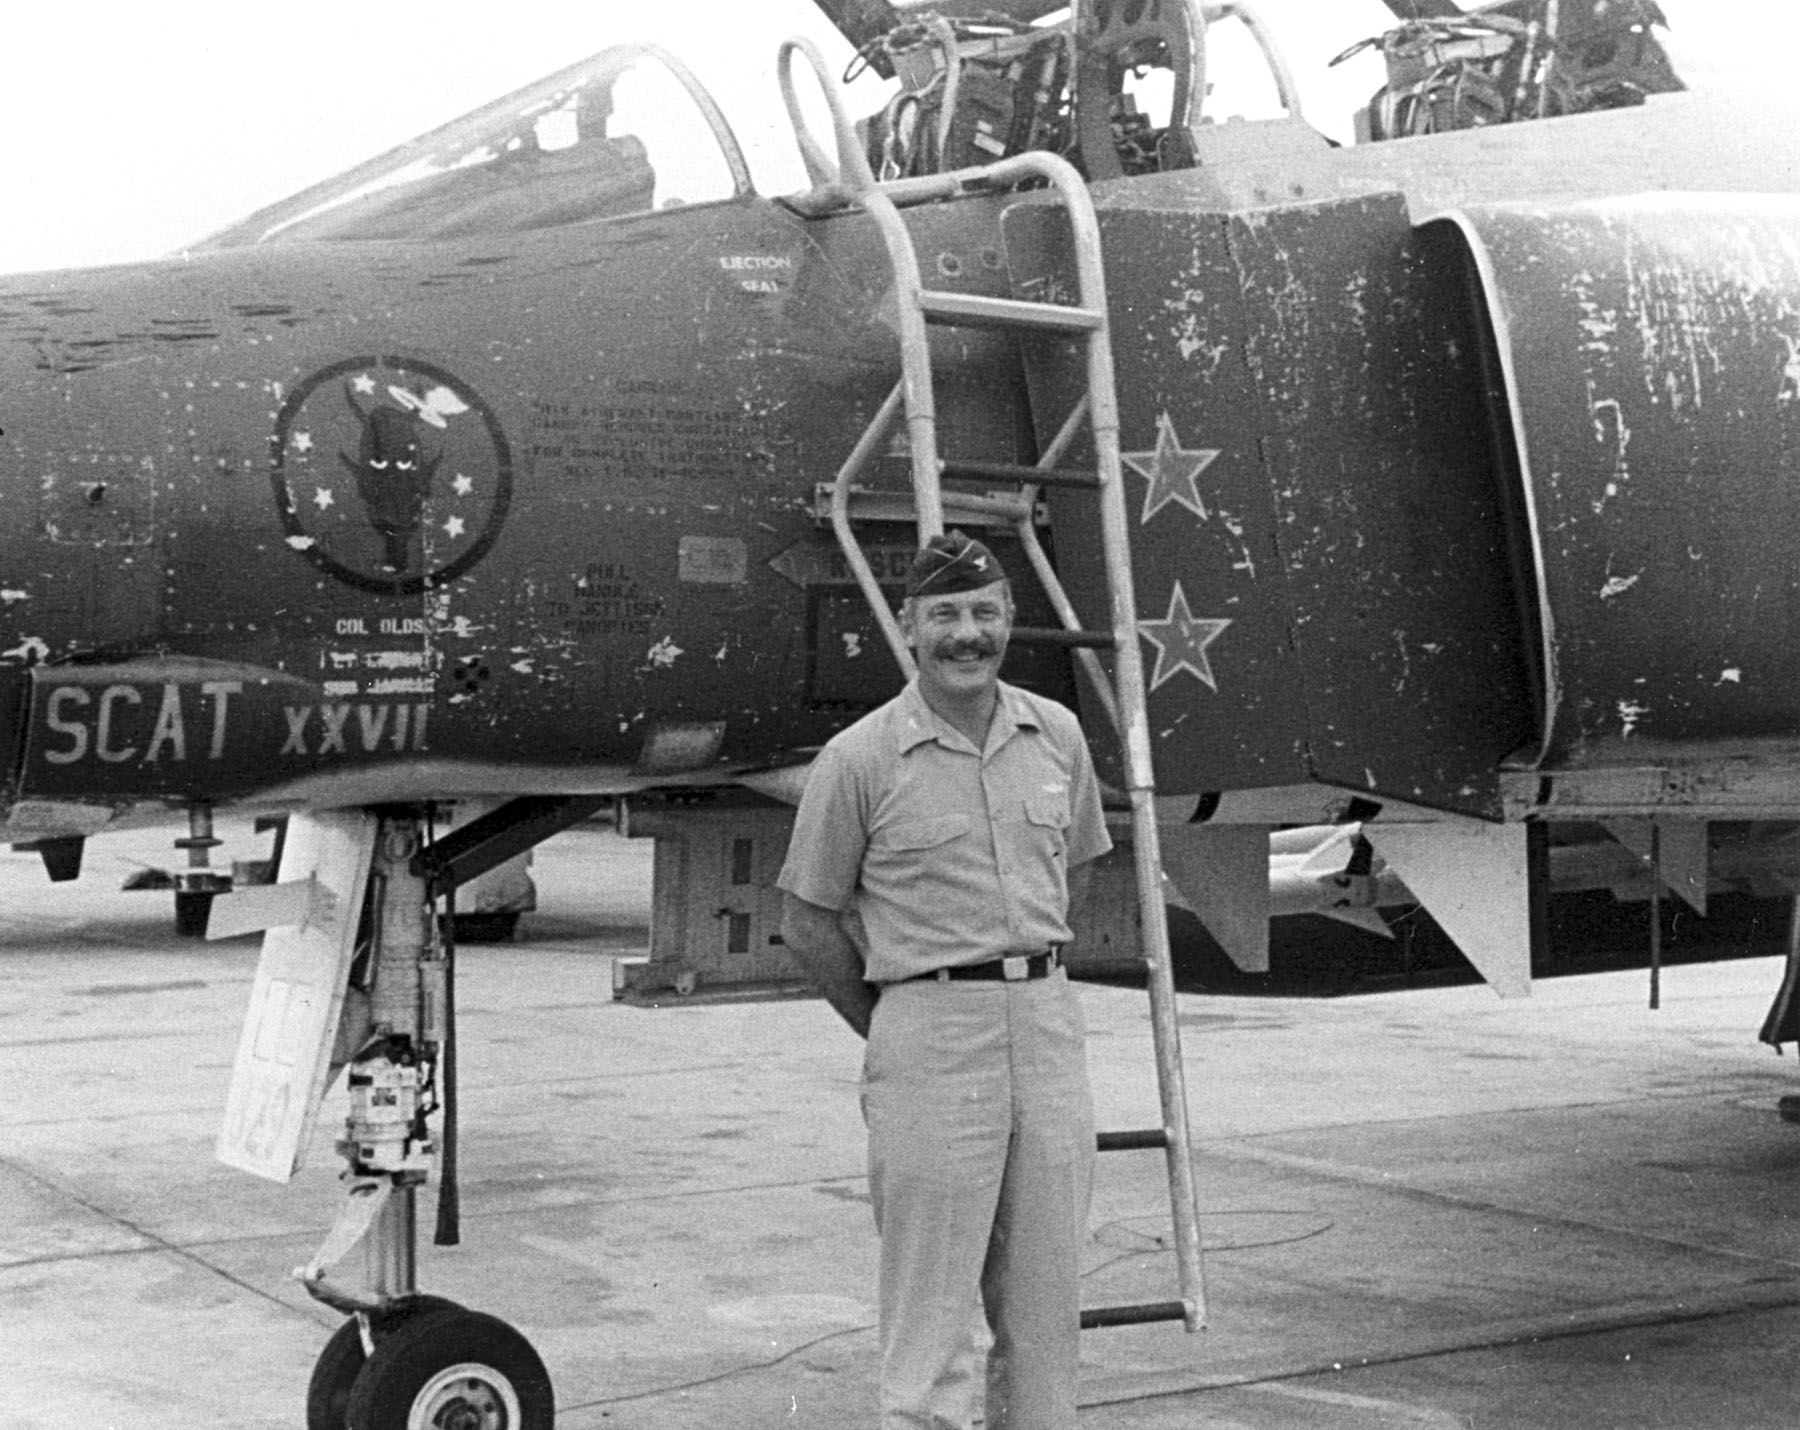
| 21:01, 8 July 2019 | Robin Olds SCAT XXVII.jpg (file) |  |
397 KB | U64962917 | Image of Robin Olds standing in front of his F-4C Phantom II, SCAT XXVII while based in Thailand during the Vietnam War. This image was found at https://www.thisdayinaviation.com/tag/raf-bentwaters/ with a copyright noti... | 1 |
| 15:37, 9 July 2019 | Destruction credit mechanics - destruction aircraft.png (file) |  |
18 KB | U36063762 | 1 | |
| 15:37, 9 July 2019 | Destruction credit mechanics - damaged aircraft.png (file) |  |
18 KB | U36063762 | 1 | |
| 15:42, 9 July 2019 | Destruction credit mechanics - destruction tank.png (file) |  |
13 KB | U36063762 | 1 |
